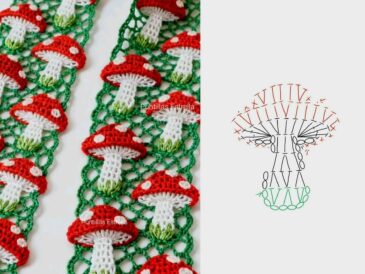
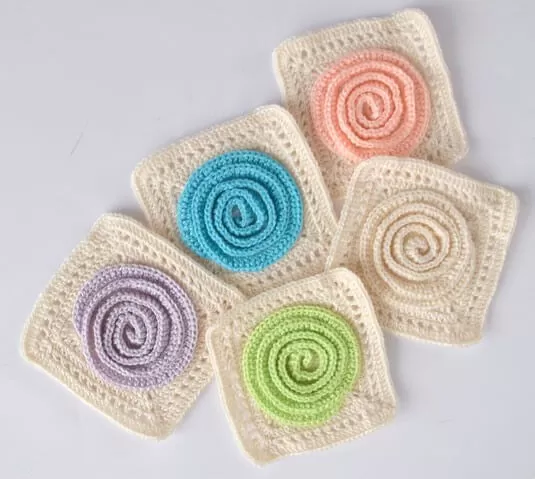
Crochet motifs add a beautiful touch to any project, and one of the most versatile designs is the leaf motif. Whether you’re looking to create a nature-inspired blanket, an elegant scarf, or a stunning table centerpiece, the leaf motif with double crochet is a perfect choice!
In this article, we’ll show you how to make a lovely leaf motif using double crochet stitches, and how you can use it to add an organic feel to your crocheted creations.
Materials Needed: Yarn of your choice (any weight, although light to medium-weight yarn is recommended) A crochet hook appropriate for your yarn (refer to the yarn label for hook size) Scissors Yarn needle (for weaving in ends)
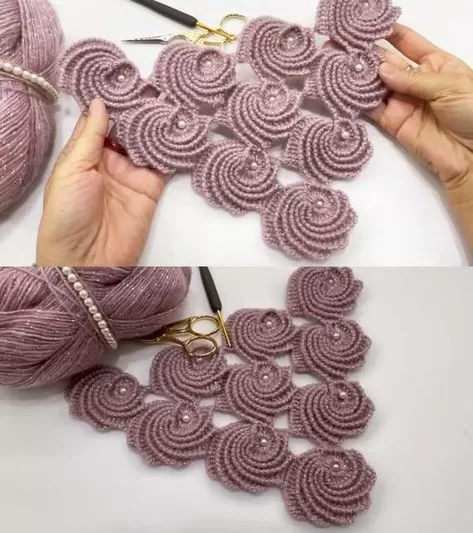
Start of the Motif
Initial Chain: Make a chain of 22 stitches.
Form the Circle: Join the chain into a circle with a slip stitch into the first chain.
Fill the Circle: Rise with 3 chains (this counts as the first double crochet). Work 21 more double crochets into the circle (a total of 22 double crochets, including the first 3 chains). Close the circle with a slip stitch into the top of the first chain.
Round with Slip Stitches Slip Stitches: Make 1 chain. Work slip stitches between each double crochet around the circle to create a border. Once the round is complete, join with a slip stitch into the first slip stitch and turn the work.
Start the Leaves
First Group of Stitches: Work 2 single crochets into the first two spaces. Work 3 half double crochets into the next space. In the third half double crochet, make two half double crochets in the same space. Work 4 double crochets into the next spaces. In the last double crochet of the group, make two double crochets in the same space.
Triple Double Crochets: In the next 5 spaces, work 1 triple double crochet into each. A total of 18 stitches should be completed at the end of the round (including all the single, half double, and double crochets).
Slip Stitch to Close: Make 1 chain and close with a slip stitch. Turn the work.
Repeat and Add Layers
Repeat the Pattern: Work 2 single crochets, followed by 3 half double crochets (2 in the same space at the end). Add 4 double crochets, with 2 in the same space at the end of the group. Continue with 5 triple double crochets, 1 in each space. Finish the round with 18 stitches in total.
Slip Stitches: Work slip stitches to the end of the round, turning the work at the end.
Increasing the Leaves: For each new layer, keep the same number of stitches and repeat the process above.
Finishing and Decoration
Finish the Last Leaf: Work the sixth leaf following the pattern described above. At the end, cut the yarn, leaving a long tail for sewing if needed.
Adding Pearls: With a sewing needle, add pearls to the center of each leaf or wherever you prefer.
Adding More Motifs Connecting Motifs: To add another motif, start the next circle as in Step 1. On the fourth leaf of the motif, connect it to the previous motif using slip stitches to join the corresponding stitches. Continue working until the desired union is achieved.
Final Touches: Complete the motif with the same steps, ensuring each connection is firm and aligned.
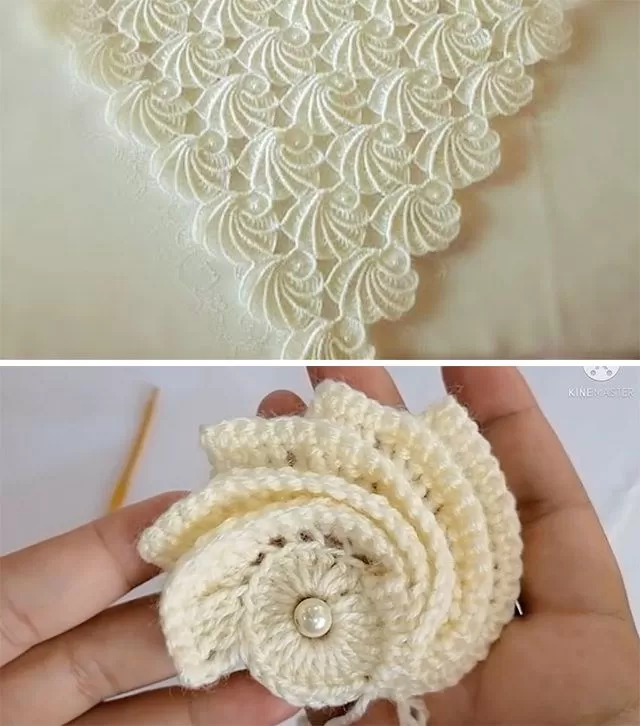
With this structure, you can repeat the motif as many times as needed and connect them to form a larger piece, such as a table center, tablecloth, or decorative blanket. If you need any adjustments or further details, feel free to ask! 😊
Video Tutorial:
Whether you’re a beginner or an experienced crocheter, this motif is simple to master and provides endless possibilities for creative applications. So grab your yarn and crochet hook, and start crafting these lovely leaves today! 🌿
We’d love to see what you create with this pattern! Share your finished projects with us on social media and tag @EasyCraftsPatterns.

