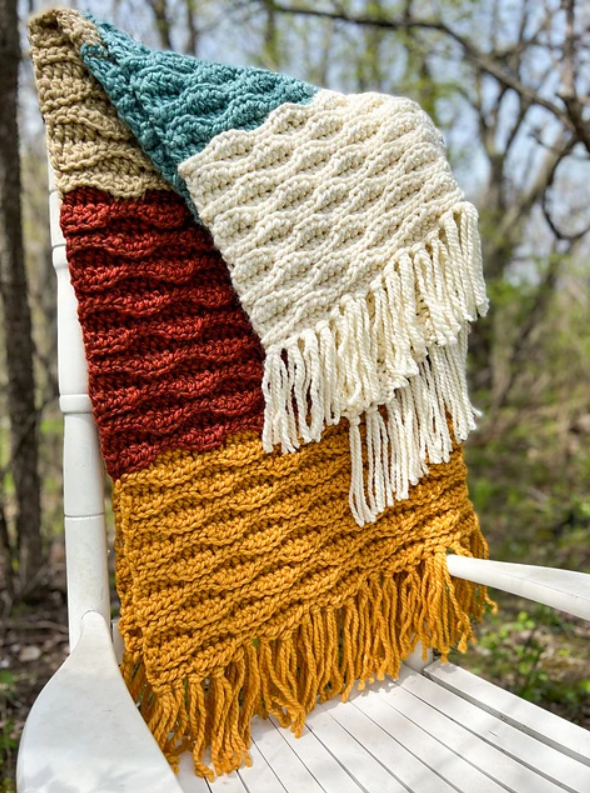
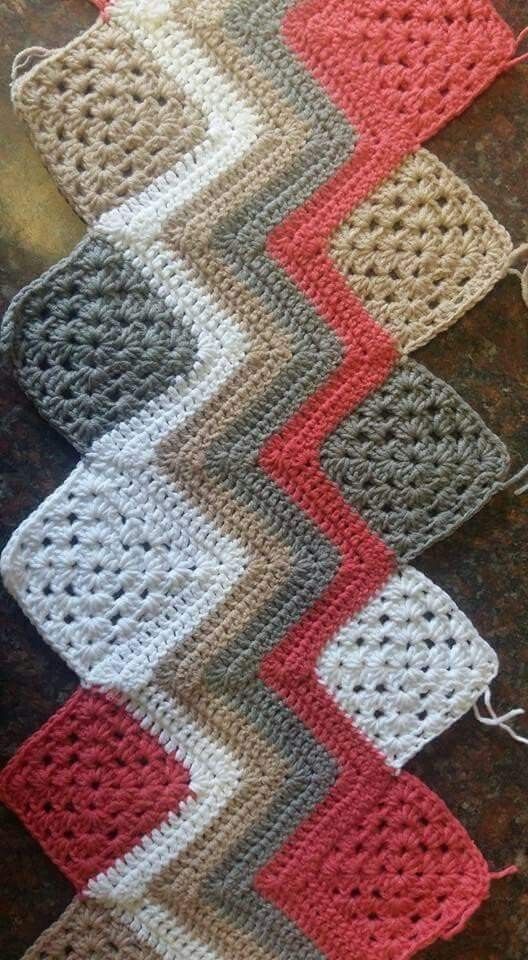
If you love combining classic motifs with playful textures, the Granny Stripes Blanket is the perfect project for you. This design blends the timeless beauty of granny squares with the flowing waves of a ripple stitch, resulting in a blanket that’s as eye-catching as it is warm.
The construction is straightforward but interesting you’ll make strips of granny squares and half squares, join them as you go, and then add ripple stitching to give the blanket movement and charm. The color changes throughout the design mean you can use your favorite palette, whether soft pastels for a baby gift or bold tones for a statement throw.
This blanket is ideal for crocheters who are confident with basic stitches and want to try a project with joining techniques and decorative edging. Follow the detailed steps below to create your own Granny Stripes Blanket that will be treasured for years.
Notes
Granny squares and half granny squares are worked with the right side (RS) facing throughout. Do not turn at the ends of rounds or rows.
Five granny squares and one half granny square are joined together to make each strip using the join-as-you-go method. When working Round/Row 4, join the current square to the previous one by slip stitching in the corresponding corner ch-1 space of the previous square.
A ripple stitch pattern is worked across one edge of each granny square strip before the strips are sewn together. The ripple stitch is then worked across the remaining unworked edge.
Instructions
Granny Square Strip #1 (make 2)
First Granny Square
With Color A:
-
Ch 4, join with sl st to form a ring.
-
Round 1 (RS): Ch 3 (counts as dc), 2 dc in ring, ch1,3dcinringch 1, 3 dc in ring 3 times, ch 1; join with sl st in top of beginning ch — 12 dc and 4 ch-1 spaces. Fasten off A.
With Color B:
-
Round 2: Join with sl st in any ch-1 space, ch 3, (2 dc, ch 1, 3 dc) in same space. *Ch 1, (3 dc, ch 1, 3 dc) in next ch-1 space*; repeat from * 2 more times, ch 1; join — 4 corners, 1 ch-1 space per side. Fasten off B.
With Color D:
-
Round 3: Join in any corner, ch 3, (2 dc, ch 1, 3 dc) in same space, ch 1, 3 dc in next ch-1 space, ch 1, *(3 dc, ch 1, 3 dc) in corner, ch 1, 3 dc in next ch-1 space*; repeat 2 more times; join. Fasten off D.
With Color C:
-
Round 4: Join in any corner, ch 3, (2 dc, ch 1, 3 dc) in corner, 3 dc in next 2 ch-1 spaces, *(3 dc, ch 1, 3 dc) in corner, 3 dc in next 2 ch-1 spaces*; repeat 2 more times; join. Fasten off C.
Next Granny Squares (Make and Join 4)
-
Work same as the first granny square through Round 3.
-
Round 4 (Joining Round): Begin as in Round 4 of first square until you reach the final corner. Hold wrong sides together with the previous square and slip stitch into the corresponding corner ch-1 space. Continue working 3 dc in same space, complete the round, and join.
-
Repeat to make a strip of 5 joined squares.
Half Granny Square (Make and Join 1)
With Color A:
-
Row 1 (RS): Ch 4 (counts as dc, ch 1), (3 dc, ch 1, 3 dc) in ring, ch 1, dc in ring. Fasten off A.
With Color B:
-
Row 2: Join in top of ch-4, ch 4, 3 dc in ch-space, ch 1, (3 dc, ch 1, 3 dc) in next space, ch 1, 3 dc in last space, ch 1, dc in last dc. Fasten off B.
With Color D:
-
Row 3: Join in top of ch-4, ch 4, 3 dc in ch-space, ch 1, 3 dc in next space, ch 1, (3 dc, ch 1, 3 dc) in next space, ch1,3dcinnextspacech 1, 3 dc in next space twice, ch 1, dc in last dc. Fasten off D.
With Color C:
-
Row 4 (Joining Row): Join in top of ch-4, ch 3, 3 dc in each ch-space to the corner. In corner space, work 3 dc, slip stitch into corresponding corner of last full square, ch 1, 3 dc in same corner space, 3 dc in each ch-space, dc in last dc. Fasten off C.
Ripple Pattern #1 (Worked Across One Edge of Granny Square Strip #1)
With RS facing, join Color A in corner ch-1 space of first full granny square:
-
Row 1 (RS): Ch 3, dc2tog over next 2 dc, *dc in next 10 dc, 5 dc in next ch-1 space (“peak”), dc in next 10 dc, dc5tog over next 5 sts (“valley”)*; repeat across, ending with dc in last 10 dc, turn.
-
Row 2: Ch 3, 3 dc in first dc, dc in next 7 dc, *dc5tog, dc in next 10 dc, 5 dc in next dc, dc in next 10 dc*; repeat; end with dc3tog, dc in turning ch, turn. Fasten off A.
-
Row 3-8: Continue ripple with Colors B, D, and C, repeating Rows 2–3 as indicated.
Granny Square Strip #2 (Make 2)
-
Work same as Strip #1, but use color order: C, D, B, A.
-
Work Ripple Pattern #2 across one edge, following similar steps to Ripple Pattern #1 but beginning at the half square end.
Finishing
-
Arrange strips in the following order: Strip #2, Strip #1, Strip #2, Strip #1.
-
Sew strips together.
-
Work Ripple Pattern #1 across the remaining unworked edge of the first Strip #2 for 10 rows in color sequence: C, D, B, A, C.
Edging
-
With RS facing, join C with sc at one long edge, work sc evenly (2 sc at the end of each row), turn.
-
Row 2: Ch 1, sc in each sc across. Fasten off.
-
Repeat on the opposite edge.
-
Weave in all ends.

The Granny Stripes Blanket is a joyful mix of tradition and movement, perfect for gift-giving or adding a burst of handmade warmth to your home. The combination of squares and ripple stitches keeps the project engaging from start to finish. Once complete, you’ll have a blanket that’s as fun to make as it is to snuggle under.