Feathers & Floral Quilt Pattern PDF

Quilting has long been cherished as a timeless art form, weaving together history, culture, and creativity in every stitch. Among the myriad quilt patterns, the combination of feathers and florals stands out for its elegance and versatility. In this article, we’ll explore the charm of the Feathers & Floral Quilt Pattern, a design that seamlessly blends nature-inspired motifs into a stunning quilt.

Feathers:

Symbolism and Grace Feathers have captivated artists and artisans for centuries, symbolizing freedom, flight, and spirituality across various cultures. In quilting, feather motifs exude a sense of grace and movement, adding depth and dimension to the fabric canvas. Whether intricately quilted or appliquéd, feathers bring a touch of sophistication to any project.

Florals:

Beauty in Bloom Floral patterns are perennial favorites in quilting, echoing the vibrant colors and delicate shapes found in nature’s garden. From intricate roses to dainty daisies, floral motifs infuse quilts with a sense of beauty and charm. Whether rendered in traditional patchwork or modern appliqué techniques, floral designs evoke a timeless elegance that appeals to quilters of all skill levels.

Feathers & Floral Quilt Pattern

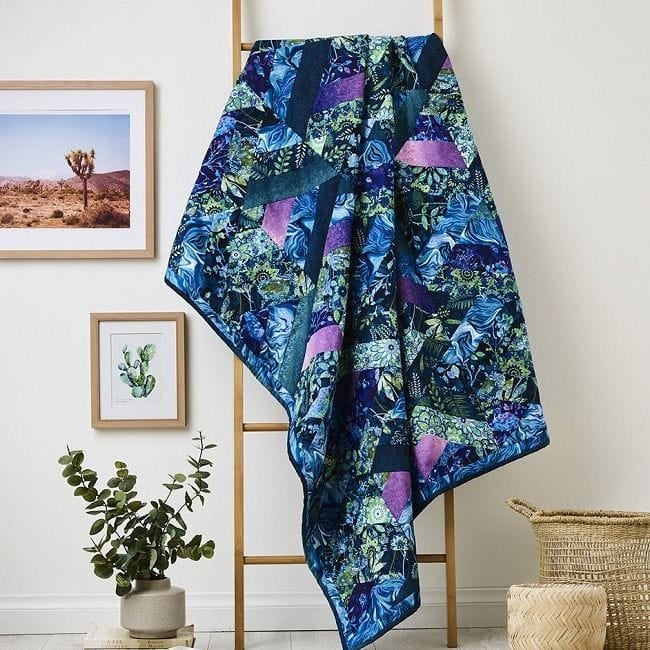
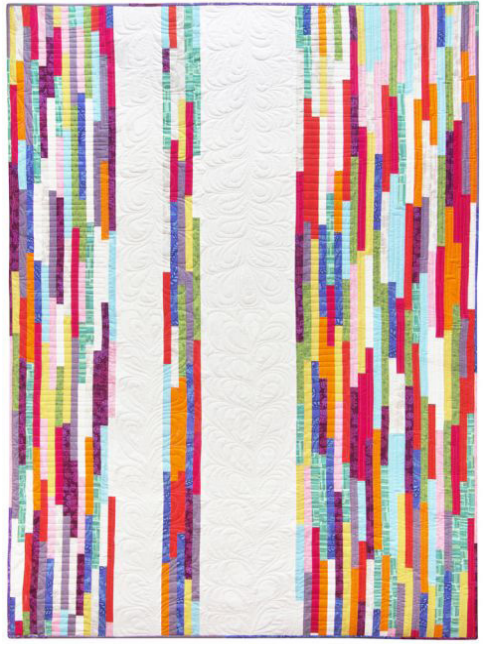
The Feathers & Floral Quilt Pattern: A Harmony of Nature The Feathers & Floral Quilt Pattern celebrates the harmony between feathers and florals, merging these timeless motifs into a captivating design. This pattern offers a versatile canvas for creativity, allowing quilters to showcase their skills through fabric selection, color placement, and quilting techniques.

Sewing Instructions:

  • Sew using a ¼” seam allowance with right sides together (RST) unless otherwise specified.
  • Always press towards the darker fabric while assembling, unless indicated otherwise by the arrows.

Block Assembly: Step 1:

  • Sew together (1) 3” x WOF Fabric D strip, (1) 3” x WOF Fabric C strip, (1) 3” x 44” LOF Fabric B strip, and (1) 3” x WOF Fabric A strip lengthwise and in that order to create (1) DA strip set (refer to Figure 1).
  • Repeat to create a total of (3) DA strip sets.
Figure 1

Step 2:

  • Use the provided template to cut (6) Block One triangles and (7) Block Two triangles (refer to Figure 2).
  • Note: Only (3) Block One triangles and (2) Block Two triangles can be cut from each strip set. Four strip sets are needed for some blocks to cut the correct number of triangles.
Figure 2

Step 3:

  • Repeat Steps 1-2 and refer to Figures 3-7 for fabric identification, order, and direction of cut to create the designated number of blocks.
Figure3-7

Step 4:

  • Follow Figure 8 and sew (13) assorted triangles together as shown to create (1) Column 1 strip. Repeat to create a second Column 1 strip.

Step 5:

  • Follow Figure 9 and sew (13) assorted triangles together as shown to create (1) Column 2 strip. Repeat to create a second Column 2 strip.

Step 6:

  • Follow Figure 10 and sew (13) assorted triangles together as shown to create (1) Column 3 strip.

Step 7:

  • Follow Figure 11 and sew (13) assorted triangles together as shown to create (1) Column 4 strip.
Figure 8-11

Quilt Top Assembly:

  • Follow the Quilt Layout while assembling the quilt top.

Step 8:

  • Sew the (6) columns together lengthwise as shown in Figure 12. Trim the block to measure 61 ½” x 71 ½” as shown to create the Center Block.
Figure 12

Step 9:

  • Sew (1) 1 ½” x 71 ½” Fabric E strip to each side of the Center Block. Sew (1) 1 ½” x 63 ½” Fabric E strip to the top and bottom of the Center Block.

Step 10:

  • Sew (1) 2 ½” x 73 ½” Fabric T strip to each side of the Center Block. Sew (1) 2 ½” x 67 ½” Fabric T strip to the top and bottom of the Center Block to create the quilt top.

Layering, Quilting, and Finishing: Step 11:

  • Press the quilt top to 75” x 84” backing well. Layer backing (wrong side up), batting, pressed quilt top right side up, and enough. Quilt as desired and trim excess batting and backing when quilting is complete.

Binding: Step 12:

  • Cut the ends of the (8) Fabric T binding strips at a 45-degree angle and sew end to end to create (1) continuous piece of binding. Fold in half lengthwise and press wrong sides together.

Step 13:

  • Sew the binding to the front of the quilt, raw edges together. Turn the folded edge to the back and hand stitch in place.
Quilt Pattern Diagram

You can also access the pattern in PDF format below. Simply click the link to download and save it for your convenience.

FREE PATTERN PDF

The Feathers & Floral Quilt Pattern offers quilters an opportunity to explore the timeless beauty of nature-inspired motifs while honing their skills and unleashing their creativity. Whether you’re a seasoned quilter or just starting on your quilting journey, this pattern invites you to immerse yourself in the art of quilting and create a masterpiece that celebrates the beauty of feathers and florals for generations to come. Happy quilting!

1 Comment

  1. Quilterkat says:

    I saved this quilt pattern from facebook, but it was not the same pattern as was shown. The original was done is scrappy blues with a black chain. But I can’t find the picture or the pattern. Anyone see it or know about it?

Leave a Reply

Your email address will not be published. Required fields are marked *