Crochet enthusiasts, gather around! If you’re on the lookout for a charming stitch to elevate your projects, the Sprig Stitch is a must-learn. With its delicate appearance and versatile applications, mastering this stitch opens a world of creative possibilities. In this article, we’ll delve into the beauty and intricacy of the Sprig Stitch crochet pattern, offering a step-by-step guide to help you incorporate this elegant technique into your crafting repertoire.
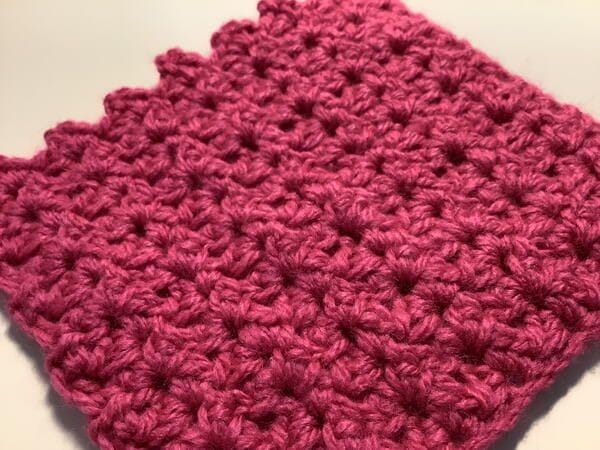
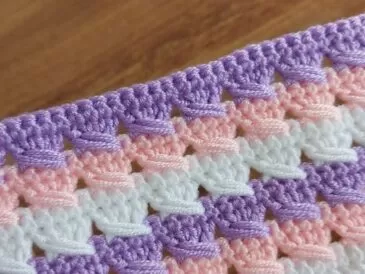
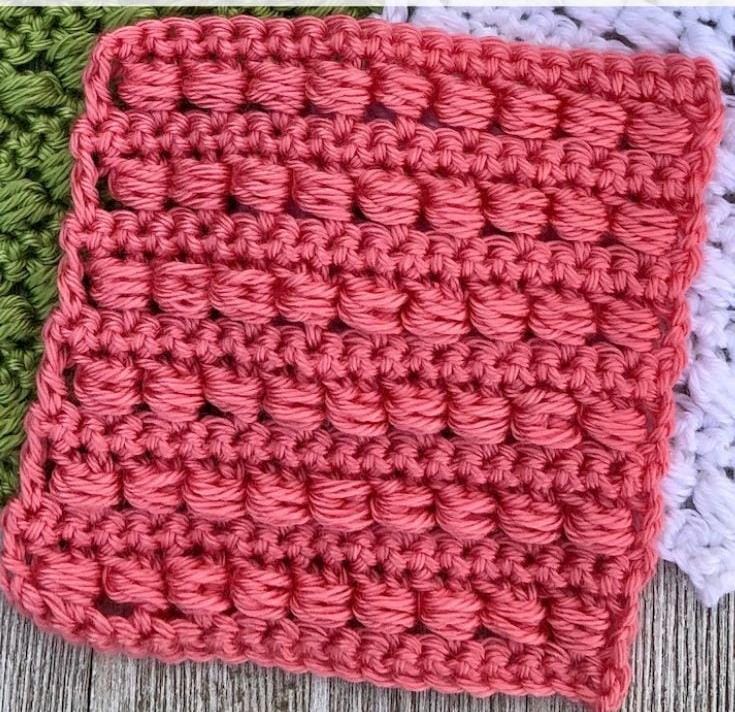
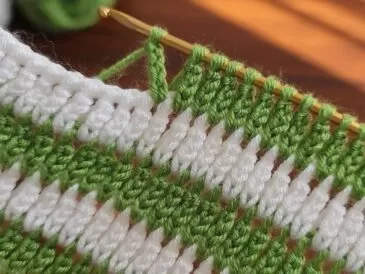
Understanding the Sprig Stitch: The Sprig Stitch is renowned for its textured, raised design resembling tiny sprigs or buds. It adds a whimsical touch to any crochet project, from scarves and blankets to garments and accessories. This stitch typically involves combinations of basic crochet stitches, such as chains, single crochets, and double crochets, cleverly arranged to form the distinctive sprig-like clusters.
Materials Needed: Before diving into the pattern, gather your materials:
- Crochet hook appropriate for your yarn weight
- Yarn in your desired color
- Scissors
- Yarn needle for weaving in ends
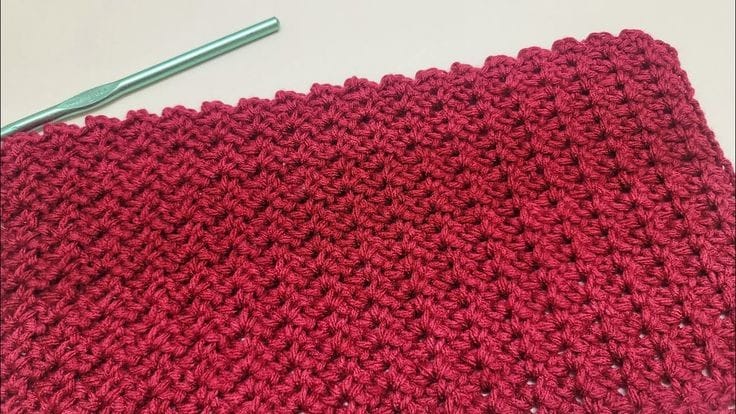
Step-by-Step Guide:
Skill Level: Beginner Note: Use hook size recommended on yarn label of the yarn you will be using. Stitch Multiple of 4 plus 3. Example 4 x 3 = 12 plus 3 = 15. To make a sample swatch, chain 15.
Row 1: 2 sc in 4th ch from hook, ch 2, 2 sc in next ch, * skip next 2 ch, 2 sc in next ch, ch 2, 2 sc in next ch *, rep from * to * across to last 2 ch, skip next ch, sc in last ch, turn.
Row 2: Ch 3, work (2 sc, ch 2, 2 sc) in each ch-2 sp across, ending with sc in top of ending turning ch, turn. Repeat Row 2 for pattern.
Finishing Row (Last row to put straight edge on work): Ch 2, hdc in same beg sc, 2 sc in next ch-2 sp, * dc between current shell and next shell, 2 sc in next ch-2 sp *, rep from * to * across to turning ch, hdc in top of ending turning ch. Fasten off.
