Welcome to Easy Crafts Patterns, your go-to resource for creative and inspiring crochet projects! Today, we’re diving into the Little Waves Stitch Pattern, an advanced design that combines post stitches and shell stitches to create a beautifully textured, flowing wave effect. Whether you’re looking to make a unique blanket, scarf, or decorative home accent, this stitch will add a touch of sophistication and movement to your projects.
This stitch is perfect for those who enjoy intricate patterns that challenge their skills, offering a rewarding experience as the delicate waves start to form with each row. Let’s get started on this mesmerizing crochet journey!
Skill Level
This pattern is categorized as advanced, given the combination of post stitches and shell stitches used to create the wave-like effect.

Abbreviations
Before we begin, familiarize yourself with the following crochet abbreviations used in this pattern:
ch – Chain st(s) – Stitch(es) sl st – Slip Stitch yo – Yarn Over sc – Single Crochet dc – Double Crochet sk – Skip fpdc – Front Post Double Crochet bpdc – Back Post Double Crochet
Special Stitches
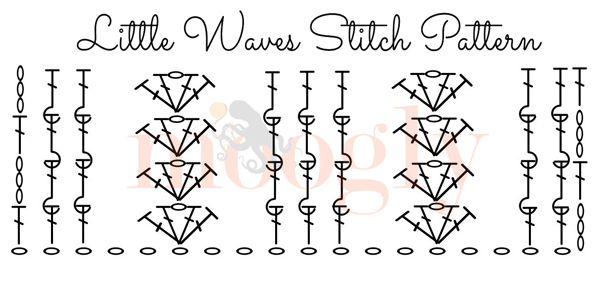
This pattern features the Shell Stitch: [2dc, ch1, 2dc] in the same stitch
Instructions
Foundation Chain
Begin by chaining in multiples of 4 + 2 to achieve your desired width.
Row 1: Setting Up the Waves
Chain in multiples of 8 + 5 to start your first row. Make 1dc in the 4th chain from the hook (the skipped 3 chains count as a dc stitch). Work 1dc in each of the next 2 stitches, then sk2 (skip two stitches). Create a Shell Stitch [2dc, ch1, 2dc] in the next stitch, then sk2.
Repeat this pattern: 1dc in each of the next 3 stitches. sk2, then work the Shell Stitch [2dc, ch1, 2dc] in the next stitch. sk2. Repeat from * across the row, ending with 1dc in each of the next 3 stitches.
Row 2: Establishing the Waves
Ch3 (this counts as a dc stitch throughout the pattern). Work a fpdc in each of the next 2 stitches. In the next ch1 space, create a Shell Stitch [2dc, ch1, 2dc].
Repeat this pattern: fpdc in each of the next 3 stitches. In the next ch1 space, create another Shell Stitch [2dc, ch1, 2dc].
Repeat from * across the row until you reach the last 5 stitches. Sk2 stitches (from the previous Shell), then fpdc in each of the next 2 stitches. Finish with 1dc in the turning chain.
Continuing the Pattern
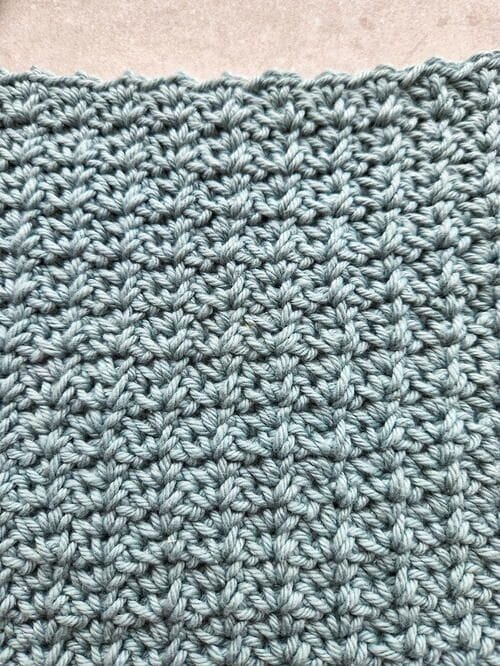
After Row 2, simply repeat Row 2 to continue building the Little Waves Stitch Pattern. The flow of front post double crochet and shell stitches will form a delicate wave effect across your work, perfect for textured and elegant projects.

Tips for Success
- Blocking: Once your project is complete, lightly block it to enhance the wave effect and bring out the stitch definition.
- Yarn Choice: Consider using a yarn with a smooth texture to highlight the intricate stitches.
Happy crocheting, and enjoy mastering the beautiful Little Waves Stitch!


