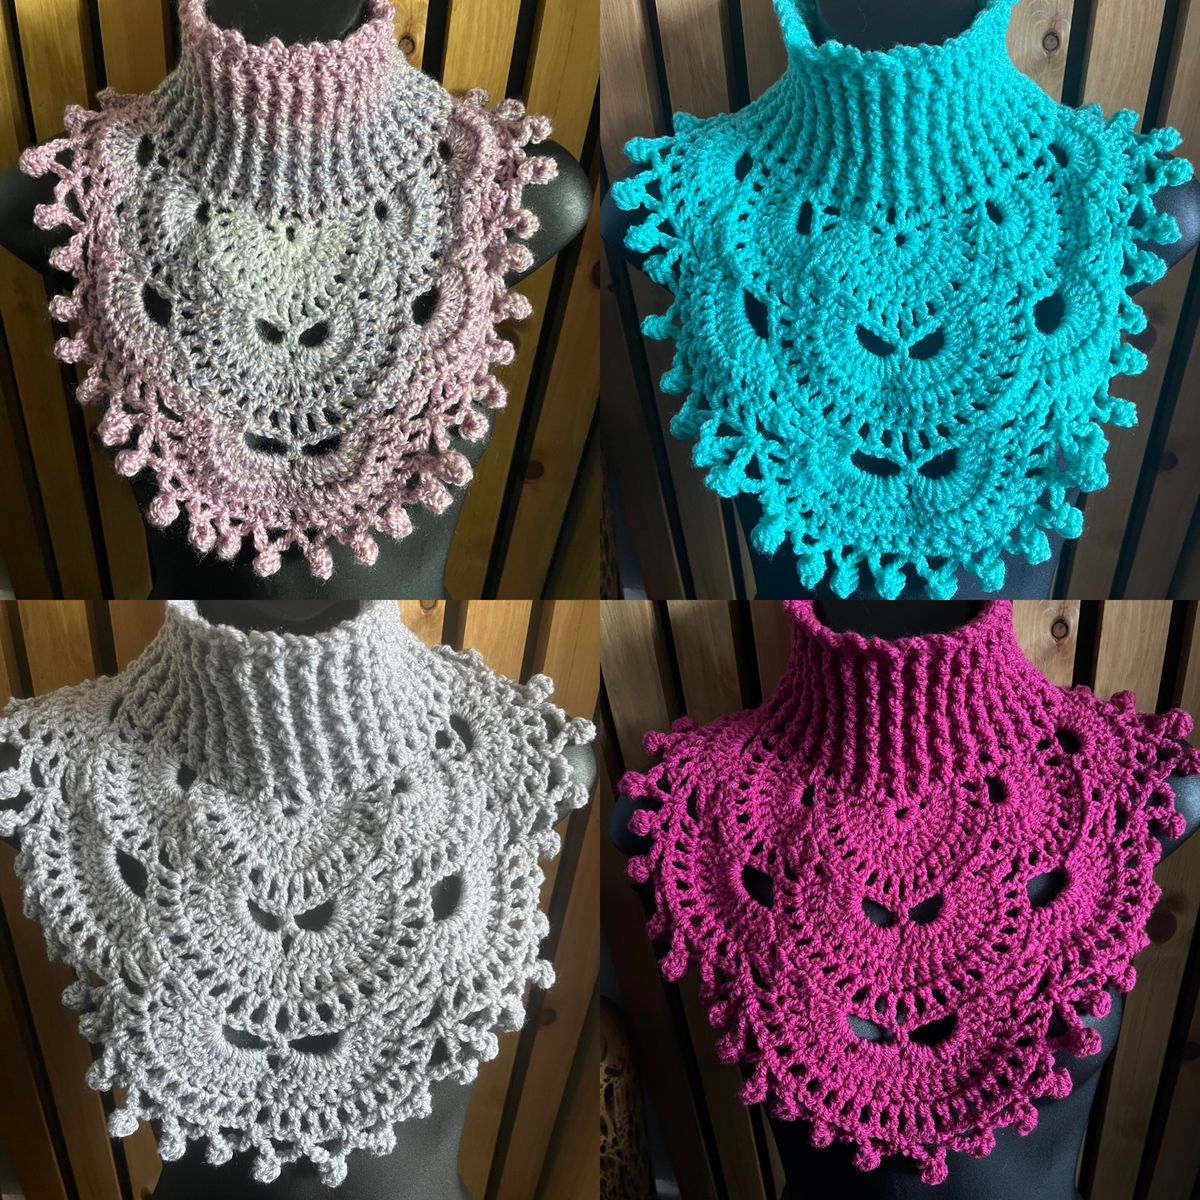
If you are looking for a cozy and stylish accessory that is easy to make, this Japanese-style crochet cowl is the perfect project. It works up quickly, requires only a small amount of yarn, and creates a textured piece that looks beautiful when worn. The stitch pattern is simple and repetitive, making it suitable for both beginners and experienced crocheters who want a relaxing project.
This cowl is designed to fit comfortably around the neck, keeping you warm without feeling bulky. You can customize the size by adjusting the number of rows or using a thicker yarn for a larger version. Let’s get started!
Materials
-
Approx. 85 g of worsted-weight yarn (or “family” style wool)
-
Crochet hook: 4.0 mm (or 4.5 mm for a larger cowl)
-
Scissors
-
Tapestry needle for sewing and finishing
Abbreviations (US Terms)
-
Ch = Chain
-
Sc = Single Crochet
-
Dc = Double Crochet
-
Ext Dc = Extended Double Crochet (YO, insert hook, pull up loop, YO, pull through one loop, YO, pull through two loops, YO, pull through last two loops)
-
FPdc = Front Post Double Crochet
-
BPdc = Back Post Double Crochet
-
Sl St = Slip Stitch
-
St(s) = Stitch(es)
Step-by-Step Instructions
Foundation Ring:
-
Ch 9, join with a sl st to form a ring.
-
Ch 3 (counts as first dc), then make 20 extended double crochets into the ring.
Row 1:
-
Ch 3, turn. Work FPdc across all sts. In the last st, dc into the top of the turning chain.
Row 2:
-
Ch 4 (3 as dc + 1 for spacing). Ext dc around post of next st from the back, ch 1.
-
Repeat across, ending with ext dc in last st.
Row 3 (Mesh Loops):
-
Ch 8, sl st into next space.
-
Ch 5, sl st into next space. Repeat ch 5, sl st until you reach the end.
-
Alternate between chains of 5 and chains of 8 to create arches.
Row 4 (Filling Arches):
-
Ch 3 (does not count as st). In each ch-8 arch, work 10 ext dc.
-
In each ch-5 arch, make 1 sc into the 3rd ch. Continue across.
Row 5 (Front Post Section):
-
Turn, ch 3. Work 10 FPdc across the previous row.
-
In the chain arches of 5, make sc + ch 5 + sc, then continue with next set of FPdc.
Row 6 (Back Post Section):
-
Ch 3, work BPdc across the stitches, with ch-1 between each st.
-
Secure with sc in the next ch space. Continue across.
👉 Repeat Rows 3–6 until your cowl reaches the desired height.
For a larger size, keep adding repetitions of arches and FP/BP rows.
Neckband (Optional Finish)
-
Ch 17. Work 1 sc in the 2nd ch from hook and across (15 sc).
-
Ch 1, turn. Work sc in back loop only across (15 sts).
-
Repeat until the strip measures approx. 10 cm wide (about 60 rows).
-
Sew the band into a loop, then attach it to the top edge of the cowl.
Assembly & Finishing
-
Sew the ends securely with a tapestry needle.
-
Fold the band outward for a stylish finish.
-
Weave in all ends.
Your Japanese-style crochet cowl is now ready to wear! This project is not only beautiful but also quick and budget-friendly since it requires very little yarn. You can play with colors, make it striped, or even use variegated yarn for a unique look. Whether you wear it tall and cozy or folded down for style, this cowl is sure to become a favorite in your wardrobe.