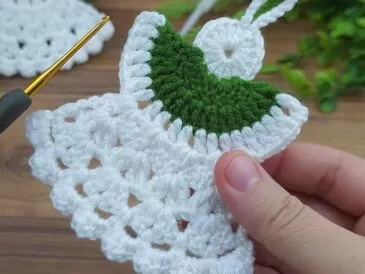
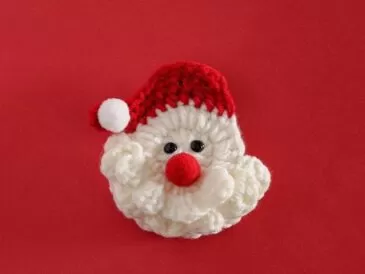
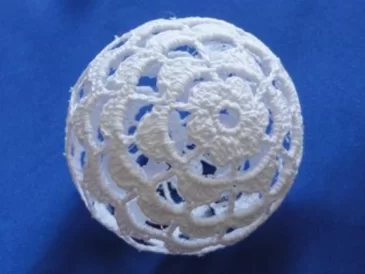
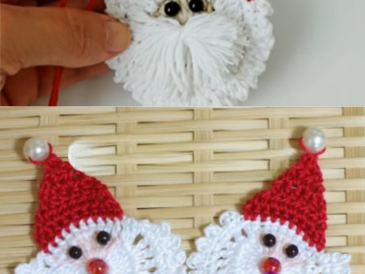
Crocheted baubles are a beautiful way to add a handmade touch to your holiday decor. Whether you’re making them as gifts or to adorn your Christmas tree, these intricate ornaments are surprisingly easy to make. In this tutorial, we’ll show you step-by-step how to crochet a bauble on a glass ball.
Materials You’ll Need To get started, gather the following materials: Glass ball (6 cm diameter) 1.25mm crochet hook Anchor Freccia Crochet Cotton 12 cord Stitch markers (optional) Tapestry needle (for weaving in ends)
Before You Begin Choose a crochet hook size that works well with your thread. If the finished piece is too small for your glass ball, use a slightly larger hook, but make sure it doesn’t exceed the size recommended on the thread label.

Step-by-Step Instructions
1. Crochet the Top Part of the Bauble Create the Foundation Ring: Chain 23 stitches and join with a slip stitch to form a loop. Adjust the chain count as necessary to fit snugly around the top of your glass ball.
First Row: Chain 3 (this counts as your first double crochet). Skip one stitch, then work a 3 double crochet cluster in the next stitch, separated by 2 chain stitches. Continue this pattern around and join with a slip stitch.
Second Row: Chain 3, then work 5 double crochets under each chain space from the previous row. Complete the row and join with a slip stitch.
Third Row: Chain 3, work 1 double crochet in each stitch from the previous row, separated by 1 chain. Join with a slip stitch to complete the row.
Fourth Row: Work chain loops: chain 3, then single crochet into the 2nd and 4th double crochet from the previous row. Repeat this sequence and join with a slip stitch.
Top Row Final: In every second chain space, work: 3 double crochets, chain 3, 3 double crochets. Join with a slip stitch, fasten off, and weave in the ends.
2. Crochet the Bottom Part of the Bauble Foundation Ring: Chain 6, join with a slip stitch to form a ring. Work 12 single crochets into the ring and join with a slip stitch.
First Row: In each single crochet, work 1 double crochet separated by 1 chain. Join with a slip stitch.
Repeat Top Instructions: From this point forward, follow the same steps as for the top part to create the rest of the bottom. Once completed, fasten off and weave in the ends.
3. Join the Two Pieces Align the Edges: Place the wrong sides of the top and bottom pieces together, ensuring they face inward.
Joining Round: Chain 1, insert the hook under a chain from both pieces, and pull through. Work 3 double crochets into the next space, joining the edges as you go.
Continue all the way around, ensuring the tension is even. Finish with a slip stitch, fasten off, and hide the threads.
Click here for crochet patterns for Christmas
Finishing Touches Carefully stretch the crocheted cover over the glass ball. Use stitch markers to secure it in place if needed, and adjust the tension to fit snugly. If desired, you can starch the crochet bauble on a balloon for a stiffened effect, making it perfect for display.


Creating a crocheted bauble is a delightful way to showcase your craft skills while adding a personalized flair to your decor. With a little practice, you’ll have beautiful ornaments to cherish for years to come. Happy crocheting!


