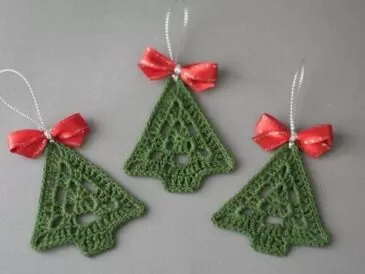
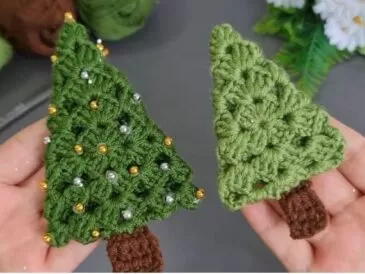
The holiday season is the perfect time to let your creativity shine, and what better way to celebrate than by making your own festive decorations? If you’re a crochet enthusiast, the Granny Square Christmas Tree is a charming and simple project that will add a handmade touch to your holiday décor. Whether you’re looking to decorate your home, craft gifts for loved ones, or create ornaments for your tree, this pattern is a delightful way to celebrate the season.
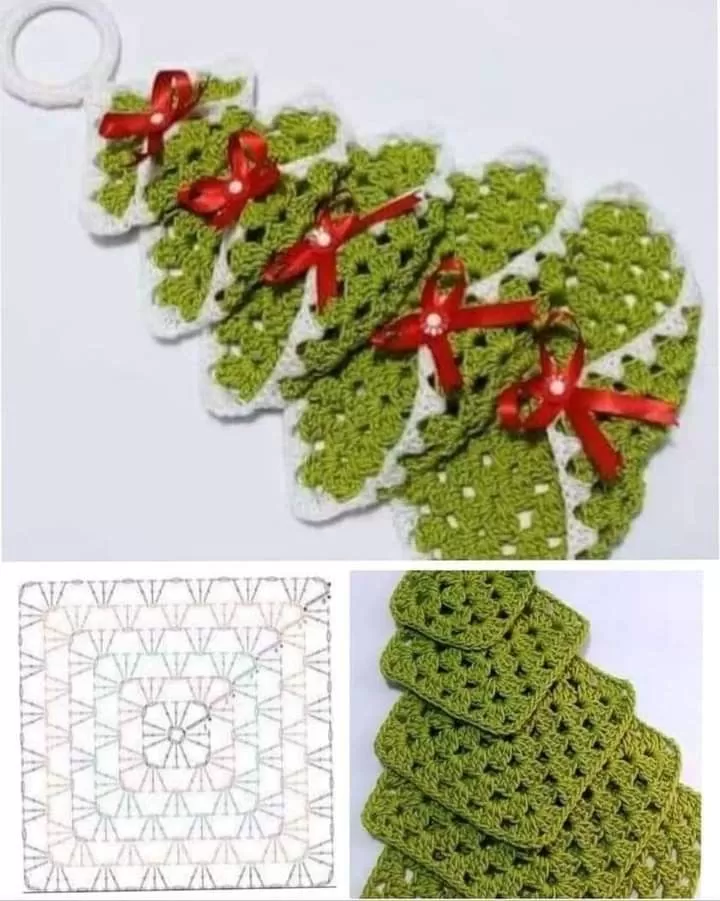
This project combines the timeless granny square technique with a seasonal twist. By stacking three granny squares of different sizes, you can create a beautiful and unique Christmas tree that’s sure to impress.
Best of all, it’s quick to make, beginner-friendly, and offers endless possibilities for customization. In this post, I’ll guide you through the materials, steps, and creative ideas to help you bring this festive design to life. Let’s get started!

Start the Granny Square: Begin with a slip knot and chain four. Make a slip stitch to connect the chain stitches into a ring. Chain three (counts as one double crochet stitch). In the ring, make two more double crochet stitches (forming the first side of the granny square). Chain two for the corner.
Make three more double crochet stitches in the ring (forming the second side). Chain two for the second corner. Make three more double crochet stitches in the ring (forming the third side).
Chain two for the third corner. Make three more double crochet stitches in the ring (forming the fourth side). Chain two to the fourth corner and slip stitch to the top of the initial chain three to close the square.
Round Two: Begin with chain three (counts as one double crochet stitch) and make one double crochet stitch in the same corner space. For the side, make one double crochet stitch in each double crochet from the previous round.
In each corner: Make two double crochet stitches in the corner space. Chain two. Make two more double crochet stitches in the same corner space. Repeat for all sides and corners. Finish the round with two double crochet stitches in the starting corner, followed by a chain two, and slip stitch to join.
Subsequent Rounds: Repeat the pattern from Round Two. Make one double crochet stitch in each stitch along the sides. Continue the corner pattern (two double crochet stitches, chain two, two double crochet stitches). At the end of the round, slip stitch to join. For the bottom section of the Christmas tree, complete a total of four rounds for the largest granny square.
Create the Border (Optional): Add a border around each granny square using single crochet, twisted single crochet, or crab stitch (reverse single crochet). Place only two stitches in each corner to round them out. Fasten off and weave in ends.
Make Three Squares: Largest square: Four rounds. Second square: Three rounds. Smallest square: Two rounds. After the last slip stitch on the smallest square, chain 25 to form a loop, slip stitch to secure, and fasten off.
Assemble the Christmas Tree: Optionally, sew the squares together or use hot glue for quick assembly. Stack the squares to form the tree shape. This summarizes the step-by-step crochet process for the granny square Christmas tree. Let me know if you’d like further adjustments or formatting!

Video Tutorial:
The Granny Square Christmas Tree is a delightful way to bring crochet into your holiday décor. Its simplicity makes it ideal for crafters of all levels, and its charm is sure to impress family and friends.
Give it a try, and don’t forget to share your creations! If you have any questions or tips for customizing this pattern, feel free to leave a comment below.
Happy crocheting, and may your holidays be filled with joy and creativity! 🎄


