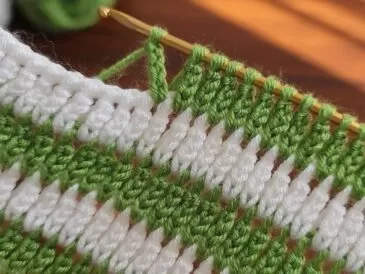
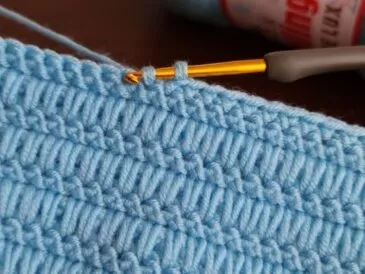
Tunisian crochet, also known as Afghan crochet, is a versatile and captivating technique that combines the best of both knitting and crochet. With its unique textured look and simplicity, it’s a wonderful craft to explore for anyone who loves working with yarn.
In this article, we’ll walk you through an easy Tunisian crochet pattern that is perfect for beginners, yet stunning enough to impress seasoned crocheters.
Tunisian crochet differs from traditional crochet in that it uses a longer hook and keeps multiple loops on the hook, similar to knitting. This method produces a distinct fabric that is both durable and beautiful. It’s commonly used for blankets, scarves, shawls, and even garments.
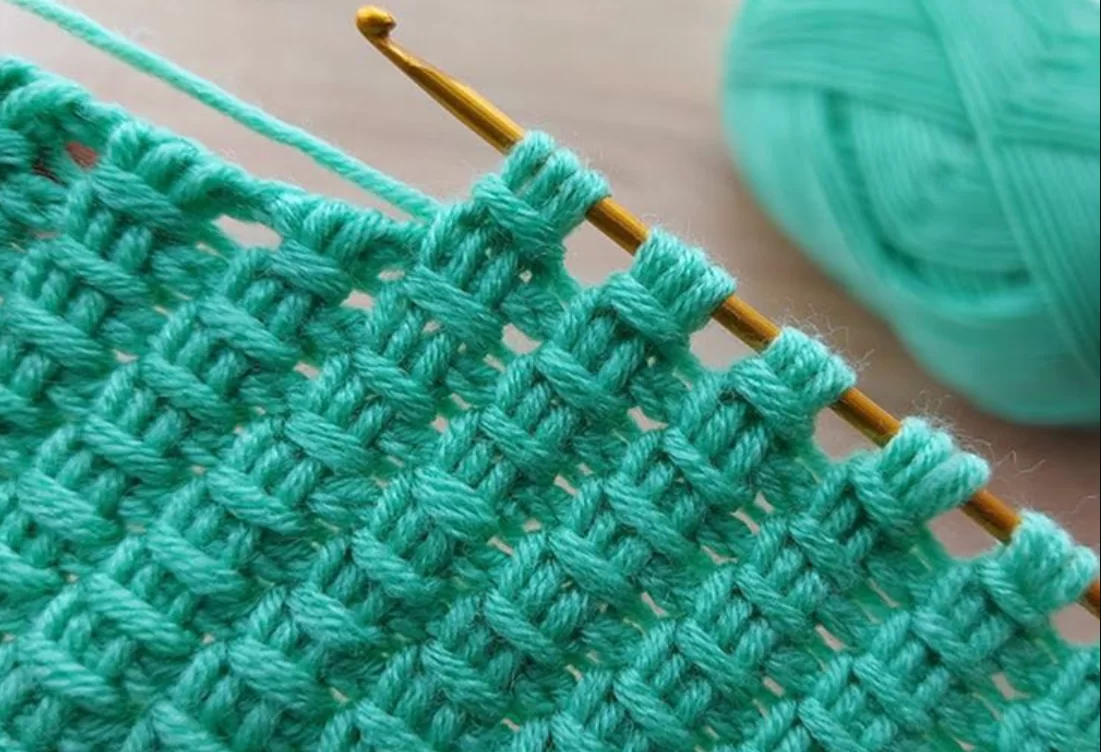
Materials Needed Yarn: Baby yarn (your choice of color and type). Hook: Tunisian crochet hook, 3.5 mm.
Step 1: Start with a Foundation Chain
Begin by creating a loose chain. Avoid pulling the chain too tight, as this will make it easier to pick up loops in the next step. Chain as many stitches as needed for your project. The pattern works in multiples of 3, plus 2 extra chains for edge stitches. Example: For a sample swatch, chain 20 (18 for the pattern and 2 for edges).
Step 2: Picking Up Loops Insert your hook into the second chain from the hook and pull up a loop. Continue inserting the hook into each chain and pulling up loops across the row. Once all loops are on the hook, proceed to close the row.
Step 3: Closing the Row Yarn over and pull through one loop (this creates the edge stitch). Yarn over and pull through two loops at a time until only one loop remains on the hook. The row is now closed.
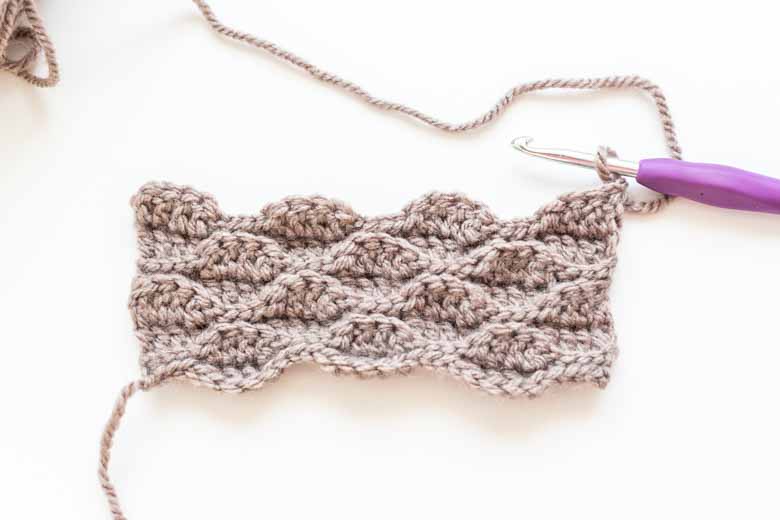
Step 4: Setting Up the Pattern Yarn over and insert your hook into the second vertical bar (skip the first bar after the edge stitch). Pull up a loop. Repeat this two more times to pick up a total of three loops. Yarn over and pull the yarn through all three loops on the hook. This completes the first cluster of the pattern.
Step 5: Continue the Pattern Yarn over and insert the hook into the next three vertical bars, pulling up a loop in each. Yarn over and pull through all three loops on the hook. Repeat this process across the row until you reach the edge stitch. For the edge stitch, insert the hook under both loops of the last vertical bar to ensure a clean edge.
Step 6: Closing the Pattern Row Yarn over and pull through one loop to create the edge stitch. Yarn over and pull through two loops at a time across the row until one loop remains.
Step 7: Repeating the Pattern The pattern repeats by working clusters of 3 loops in the same manner across each row. Make sure to yarn over and pull through all loops in each cluster for consistency.
Video Tutorial
Once you complete a few rows, your pattern will take shape. The texture is elegant and looks intricate, even though it’s quite simple to make. Enjoy your crochet journey, and have fun experimenting with colors and yarn types for different effects!
Good luck with your project! 😊

