Tree Decoration Pattern:
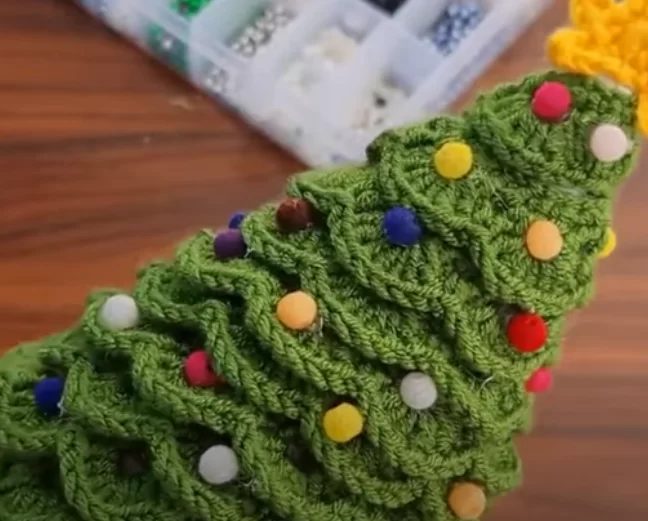
Start with the base: Ch 3; skip 2 stitches, and make 1 sc in the next stitch. Ch 1; in the skipped 2 spaces, make 7 dc (double crochet), followed by 1 sc in the next space. Continue this pattern until the end of the row.
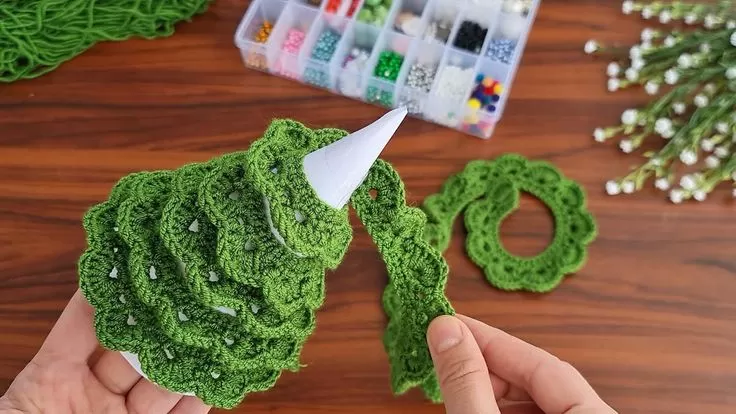
Form the cone: Draw a 15 cm diameter semicircle on a piece of blank paper. Cut it out and form it into a cone shape. Glue the crochet piece onto the paper cone in a circular pattern, ensuring it’s securely attached around the cone.
Star Decoration:
Make the magic ring: Begin with a magic ring and ch 1. Make 10 sc in the ring, then pull it closed to form a small circle.
Form the star points: Ch 4; skip 1st stitch, and make 1 sc, 1 hdc (half double crochet) in the next stitch. Skipping one stitch, slip stitch into the next space. Repeat this step 3 more times for 4 points on the star.
Assembly: Once the star is complete, glue it onto the top of your crochet tree decoration.
Cut off the tip of the paper cone and decorate your tree with little crochet accents or embellishments.
Video Tutorial:
With just a few simple crochet techniques, you can create delightful tree decorations that will impress guests and make your tree stand out. Add more stars or tiny crochet elements to create a unique set for your holiday décor! Happy crocheting!

