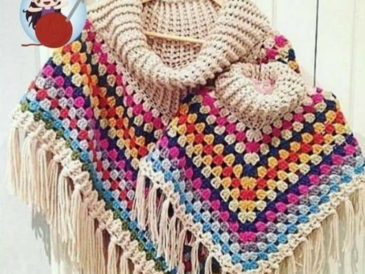
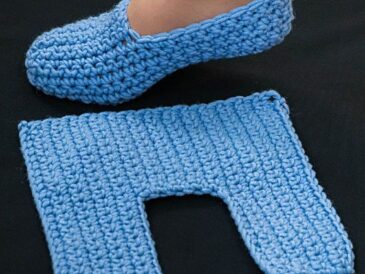
Crochet borders have the unique ability to elevate any project, adding a touch of elegance and intricacy to your creations. Whether you’re enhancing a skirt, cardigan, dress, or blanket, a well-crafted border can make all the difference.
In this tutorial, we will explore how to create a stunning and versatile crochet border that’s perfect for a variety of projects. This design combines contrasting colors and complex shapes to create a visually striking effect that’s sure to impress.
If you’ve ever wanted to add a polished and artistic finish to your handmade items, this step-by-step guide is for you. Let’s dive in and bring your crochet visions to life!

Materials You Will Need
Yarn: I used 100% cotton bobbin yarn with 1700 m per 100 g in 5 ply. However, you can experiment with other yarn types. Hook: I used a size 2.1 mm hook. Colors: I selected four contrasting colors for my design. If you prefer a subtler effect, choose colors close in tone.
Important Notes
Choose the Right Yarn and Hook: Select materials that match the density of your knitting. Thicker yarn and a larger hook will result in bigger elements, while thinner yarn and a smaller hook will create smaller elements. Customize Your Colors: Contrasting colors create a bold effect, while similar tones yield a more harmonious look.

Step-by-Step Instructions
Starting the Border Center Square: Begin by knitting the center of the largest square.
Chain 5 and close it into a ring. Work the first and second rows in your chosen starting color. I used a soft lilac.
Add 2 chains for lifting (not shown in the diagram). Consider this as the column indicated by the purple arrow in the diagram. Finish the row so the hook ends in the middle of the corner, then chain 1 and make a double crochet at the row’s beginning.

Adding Layers Work the Second Row:
Knit the lifting loops and continue the second row according to the diagram.
Add the Next Color: Create a small square using your second color. Mine was gray.

Set it aside temporarily and return to the first square to work the third and fourth rows in gray.

Attach the Small Square: At the end of the fourth row, attach the small square to the main piece as shown in the diagrams.
Expanding the Design Introduce the Third Color: Add the third color (blue for me) and knit another workpiece. Set it aside temporarily.
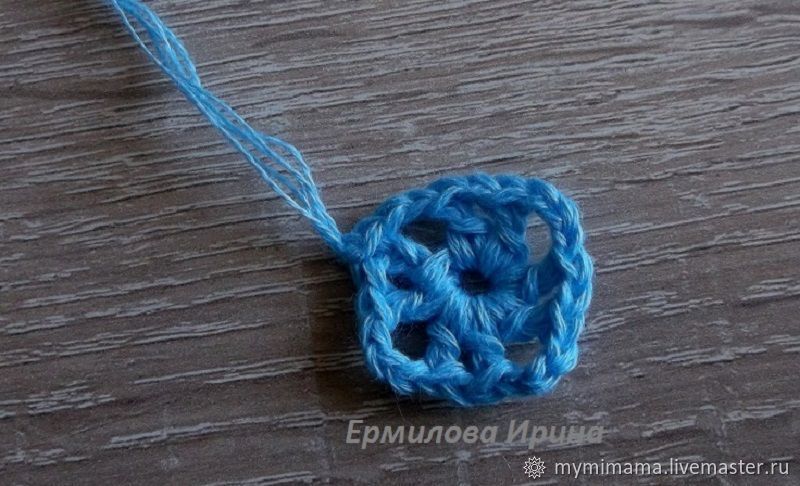
Return to the main element and form a polygonal structure by completing the gray thread in the center and tightening the loop.
Continue with the Pattern: Use the blue thread to knit from the corner of a small diamond and follow the diagram. This step forms a complex element.
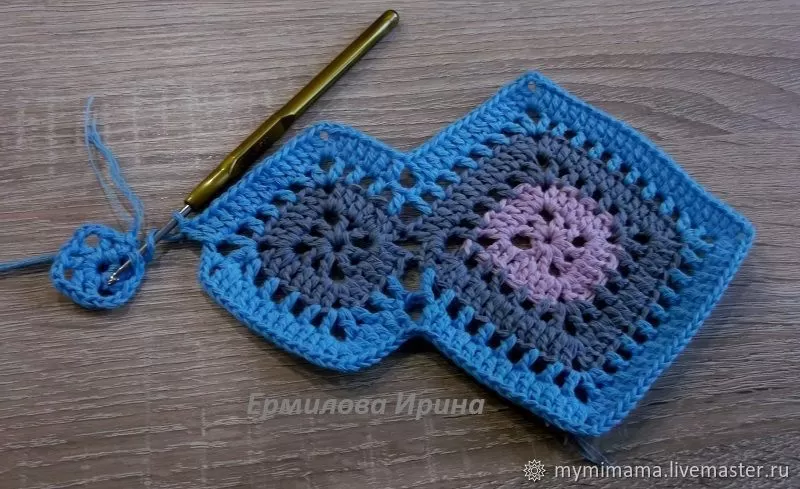
Combine Elements: Knit the required number of such polygonal elements. I made 12 and connected them into a ring using a measuring tape to ensure accuracy.
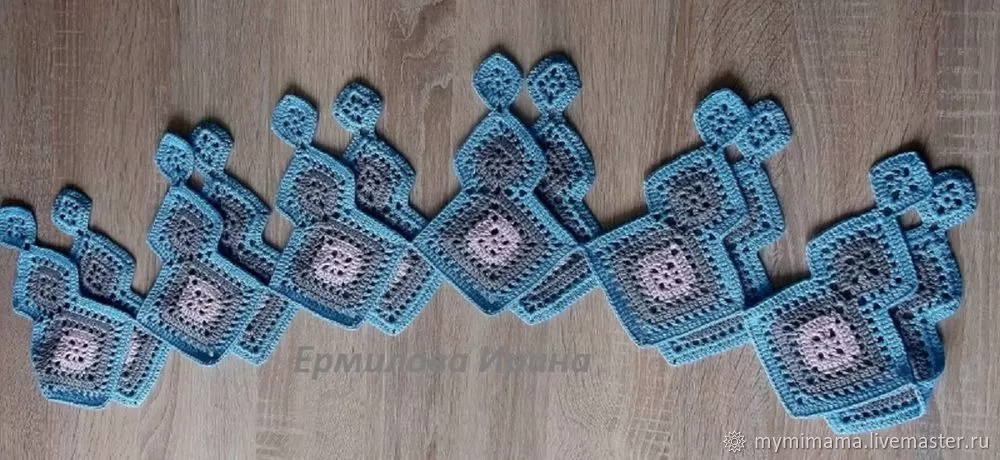
Completing the Border Add the Final Rows: Start knitting the next row from the corner of one of the small elements.
Continue with the purple thread, knitting along the edge. Add additional blanks in the second purple row and connect the protruding corners.
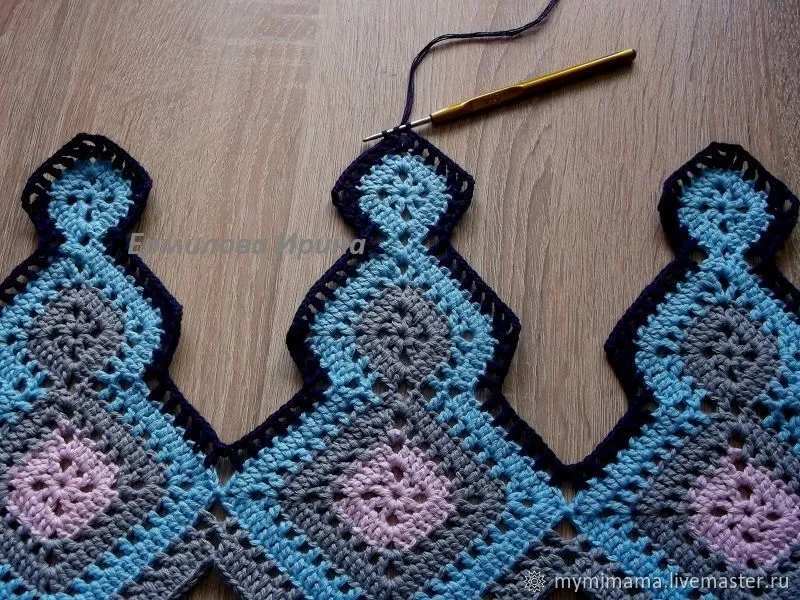
Enhance the Border: Add two more gray rows to lengthen the border. Alternatively, skip adding small elements to create a simple openwork effect.
Project Example: Crochet Skirt Using this border, I crocheted a skirt by adding separate square elements and arranging them in a zigzag pattern. For the waistband, I inserted a drawstring into the belt, creating a beautifully finished piece.
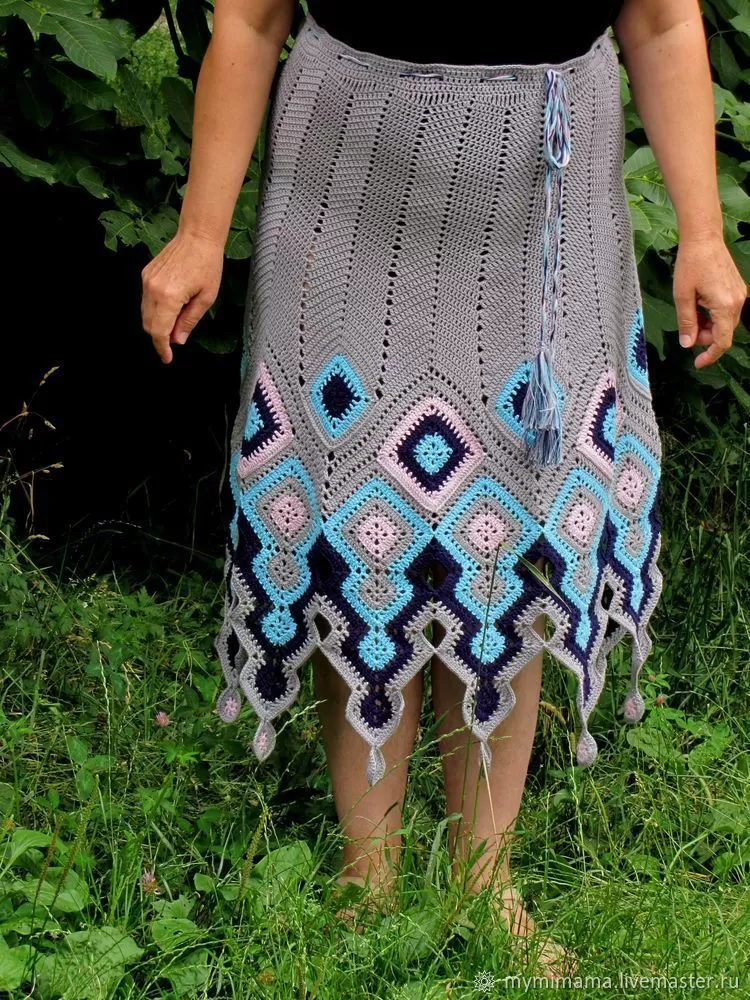
This complex crochet border is a versatile addition to your craft repertoire. Whether you use it for garments or home decor, its intricate design will make your projects stand out. Experiment with different yarns, hooks, and color schemes to customize your creations.
Are you ready to start your crochet journey? Grab your materials and let’s create something extraordinary!


