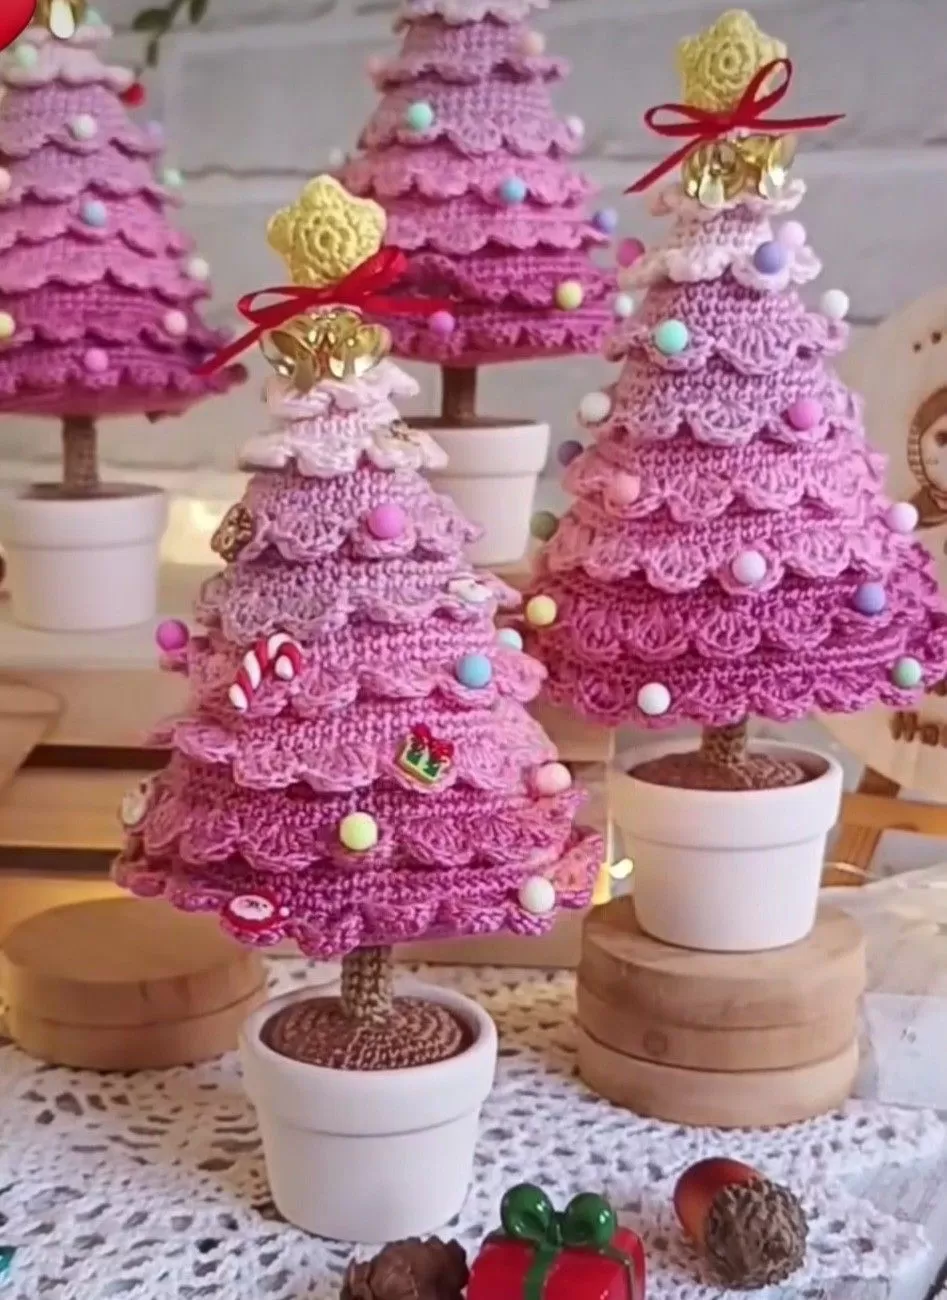
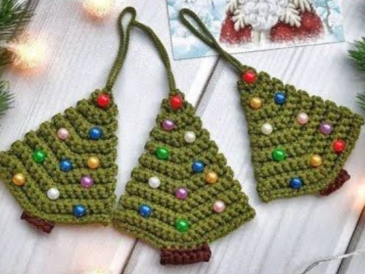
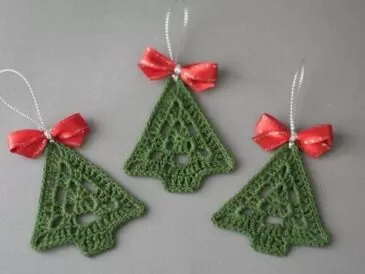
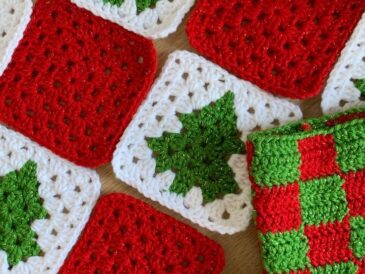
Hello, my dear craft masters and guests of my channel! Today we have a master class on how to crochet a Christmas tree in one day. Here’s a cute New Year’s tree that is easy to crochet perfect for beginners. It’s ideal for decorating interiors.
This master class was made possible by the designer of the tree pattern, Valentina Vaskov, who kindly allowed us to create this tutorial. She has a creative workshop, and the girls from the yarn club joined me to crochet this tree for you. At the end, there will also be a small surprise!
A big thank you to Valentina for providing the opportunity to showcase this tutorial and for sharing the pattern. She is a talented designer, and I’m happy to present her work. Let’s begin with her permission.

Materials Needed: Brown yarn for the trunk, green yarn for the tree, and mint-colored yarn for some decorative accents. I’m using pink 100% cotton yarn, 50 grams with 350 meters. I’m using 2 strands of yarn and a 3 mm hook. A marker, Scissors, Stuffing, The needle Tree decorations (I’m using small balls, but you can add any other decorations you like).
Step-by-Step Instructions:
Trunk (Brown Yarn): Start with a magic ring and crochet 6 single crochet stitches into it, then pull it tight. In the second round, increase in each stitch (2 single crochet in each stitch), making 12 stitches in total. In the third round, crochet into the back loop only, making 12 single crochets. Continue for the next 3 rounds (rows 4–6), crocheting 12 single crochets per round, working into both loops.
Switch to Green Yarn: In round 7, switch to green yarn and start crocheting the body of the tree. Increase in every stitch in the round (2 single crochets per stitch), making 24 stitches in total.
In round 8, crochet 1 single crochet in the first 3 stitches, then increase in the 4th stitch. Repeat around the round, making 30 stitches.
Round 9: Crochet 1 single crochet in each of the first 5 stitches, then increase in the 6th stitch. Repeat around the round, making 36 stitches.
Round 10: Crochet 1 single crochet in each of the first 6 stitches, then increase in the 7th stitch. Repeat around the round, making 42 stitches.
Round 11: Crochet 1 single crochet in each of the first 7 stitches, then increase in the 8th stitch. Repeat around the round, making 48 stitches.
Add Cardboard Base: Take a piece of firm cardboard and cut it to fit the size of your crochet base to form the foundation for the tree. Set this aside for later.
Continue with the Tree:
For rounds 12 and 13, crochet 48 single crochets in each round (no increases or decreases).
For round 14, crochet 1 single crochet in the first 6 stitches, then decrease in the 7th stitch. Repeat around the round to make 42 stitches.
For rounds 15–17, crochet 42 single crochets in each round (no increases or decreases).
In round 18, crochet 1 single crochet in each of the first 5 stitches, then decrease in the 6th stitch. Repeat around to make 36 stitches.
Stuffing: As you crochet, start stuffing the tree to give it shape.
Continue Shaping the Tree: Round 19: Crochet 36 single crochets in each round. Round 20: Crochet 1 single crochet in each of the first 4 stitches, then decrease in the 5th stitch. Repeat around to make 30 stitches.
Final Shaping:
Continue decreasing and stuffing until you finish the last rounds. You will gradually reduce the number of stitches in each round by crocheting decreases.
In the final rounds (around 40 and 41), decrease until you have 6 stitches remaining. Fasten off the thread and close the hole.
Making the Layers:
To form the tree’s layers, focus on the rows where you crocheted in the back loop only (rounds 15, 19, 23, 27, 31, 35, 39). These rows will be the start of each layer.
Insert the hook into the front loop of the first stitch, join the new yarn, and crochet 3 chain stitches and 2 double crochets into the same stitch. Continue working through each row to form the layers.
Final Touches:
Finish by adding any decorations to the tree, such as small beads or ornaments. You can also add a star or other embellishments.
And that’s it! You now have a cute crocheted Christmas tree ready for decorating your home for the holidays. Enjoy your craft!


