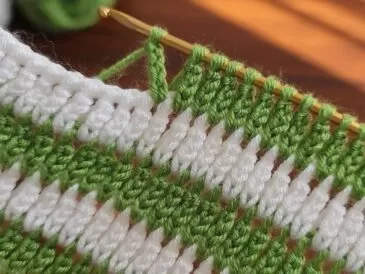
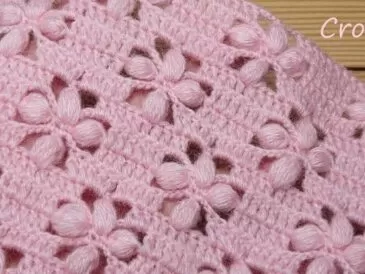
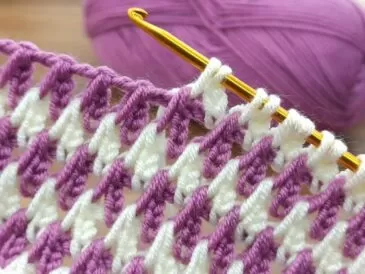
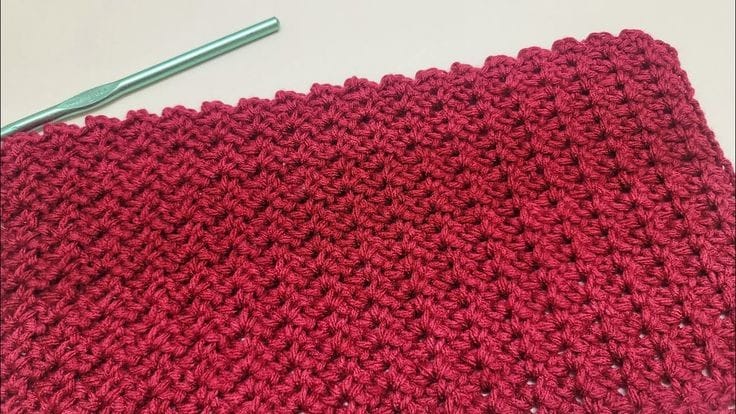
Crochet enthusiasts, get ready to elevate your crafting game with the mesmerizing Bar Stitch pattern! Whether you’re a seasoned crocheter or a beginner looking to expand your skills, this versatile and visually stunning stitch is sure to become a favorite in your repertoire.
In this article, we’ll explore the ins and outs of the Bar Stitch pattern, offering step-by-step instructions and creative ideas to incorporate this technique into your next crochet project.
The Bar Stitch, also known as the Crossed Double Crochet, creates a unique texture that resembles horizontal bars across your work. It’s achieved by crossing two double crochet stitches, creating a beautiful interwoven effect. This stitch adds depth and visual interest to your projects, making it perfect for a variety of items, from scarves and blankets to stylish garments.
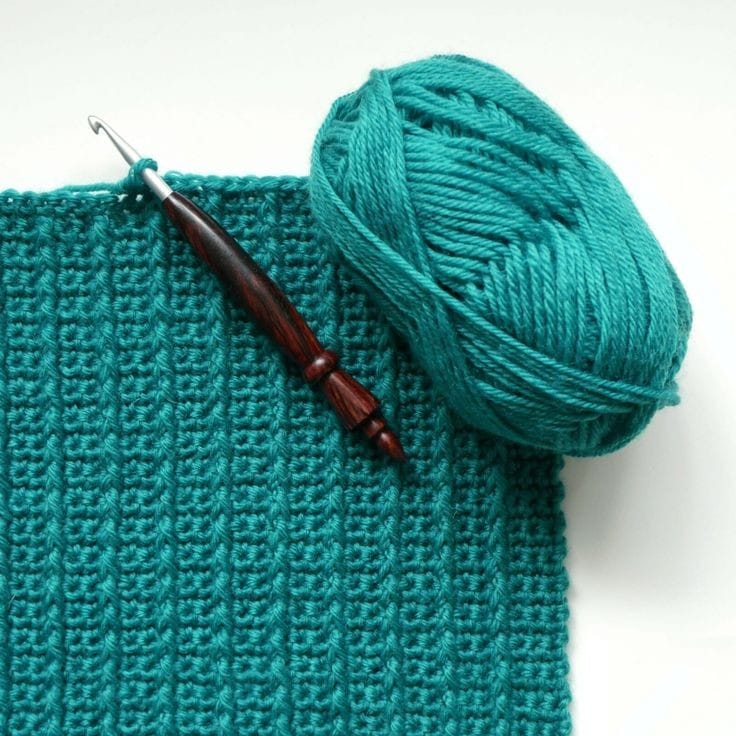
Materials Needed for Bar Stitch – Beginner Level
Are you eager to try your hand at the beautiful Bar Stitch pattern? As a beginner, it’s essential to gather the right tools and materials. Here’s what you’ll need to embark on your Bar Stitch crochet journey:
Tools:
- Crochet hook (H/5mm)
- Scissors
- Needle
Material:
- Scrap yarn or 1 skein of yarn (recommended for learning)
- As a beginner, consider using a larger hook size to make the process easier.
Stitches Used in Bar Stitch:
Before diving into the Bar Stitch, familiarize yourself with the essential stitches and abbreviations:
Slip Knot:
Use the crochet hook to draw the yarn through the loop and pull until tight.
Chain (CH):
Wrap the yarn over the hook from back to front. Pull the hook with the yarn through the loop on your hook.
Single Crochet (SC):
Start with one loop on your hook. Slide the hook into the chain stitch, wrap the yarn over the hook, and pull it through the chain stitch. You now have 2 loops on the hook. Wrap the yarn over the hook and draw it through both loops.
Front Post Double Crochet Stitch (FPDC):
Yarn over and put your hook from front to back through your work. The post you want to crochet around is in front of your hook. Yarn over again and pull up a loop (three loops on your hook). Yarn over and pull through the first two loops, then yarn over once more and pull the working strand through the remaining two loops.
How to Crochet Bar Stitch:
Follow these step-by-step instructions to crochet the Bar Stitch:
Foundation:
Chain a multiple of 2 stitches.
Row 1:
Insert the hook into the 2nd chain from the hook and SC in every stitch until the end of the row. CH 1 and shift work.
Row 2:
SC 1 in every stitch until the end of the row. CH 1 and shift work.
Continue with the following rows:
Row 3:
SC 1 in the first stitch. FPDC in 2nd single crochet of the first row. SC 1 in the next stitch. FPDC in the next stitch of the first row, SC 1 in the next stitch * repeat until the end of the row. End with SC 1. CH 1 and shift work.
Row 4:
SC 1 in every stitch until the end of the row. CH 1 and shift work.
Row 5:
SC 1 in the first stitch. FPDC in 2nd single crochet of 2 rows below. SC 1 in the next stitch. FPDC in the next stitch of 2 rows below, SC 1 in the next stitch * repeat until the end of the row. End with SC 1. CH 1 and turn work.
Row 6:
SC 1 in every stitch until the end of the row. CH 1 and shift work.
Repeat rows 5 and 6 as many times as you desire to crochet a beautiful Bar Stitch swatch. Enjoy the rhythmic flow of your hook as you create this visually appealing and textured pattern!
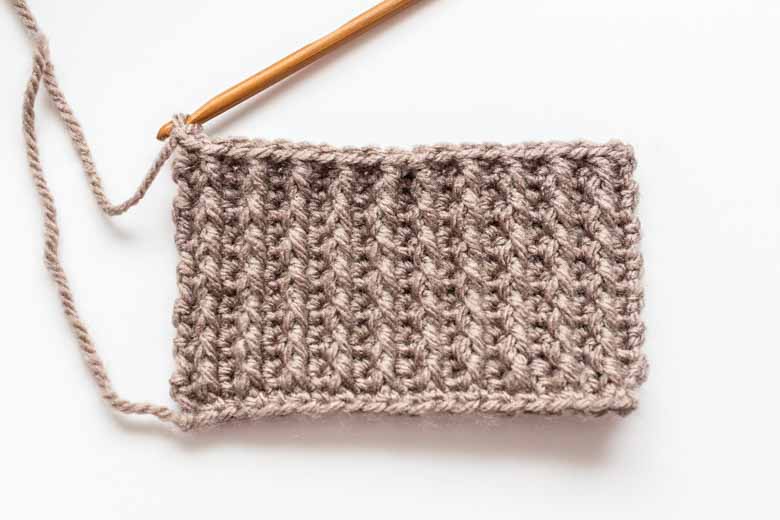
The Bar Stitch pattern opens up a world of creative possibilities for crocheters of all skill levels. Its unique texture and versatility make it a go-to choice for various projects. Whether you’re looking to create cozy accessories or fashionable garments, the Bar Stitch is sure to add a touch of elegance to your crochet repertoire. So, grab your yarn and hook, and let the creativity flow as you embark on your next crochet adventure!

