There’s something especially sweet about handmade baby accessories, and a crochet bow headband is one of those timeless pieces that never goes out of style. Soft, cozy, and adorable, this project is perfect for babies during cooler weather while also adding a charming handmade touch to everyday outfits. Whether you are creating a thoughtful baby shower gift or making something special for your little one, this Crochet Bow Headband Baby Pattern is a fun and satisfying project to crochet.
One of the best things about this pattern is how beginner-friendly it is. Using only simple stitches like Single Crochet and Half Double Crochet, the headband works up quickly and creates a beautiful textured fabric that feels soft and stretchy. The oversized bow gives the headband a modern and stylish look while remaining comfortable enough for babies to wear throughout the day.
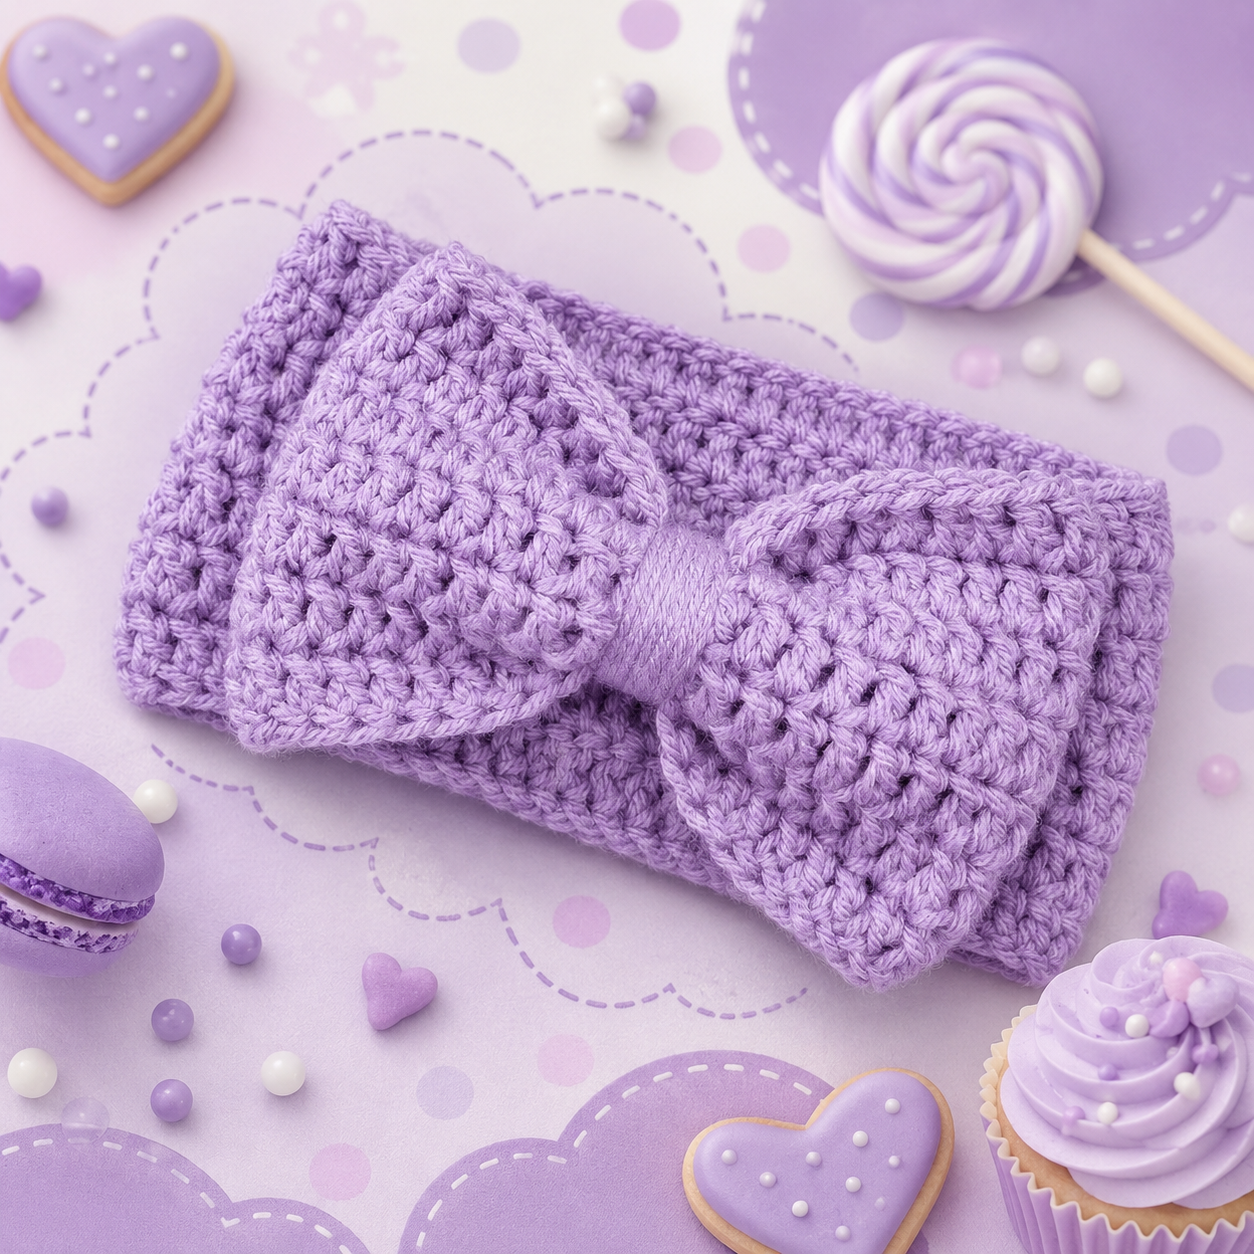
This pattern is also wonderfully customizable. You can experiment with soft pastel shades for a delicate nursery style, choose bright colors for a playful look, or even create seasonal versions for holidays and special occasions. The finished headband makes an excellent photography prop, a practical winter accessory, or a treasured handmade keepsake that parents will love.
Crochet headbands are among the most rewarding quick projects because they combine beauty and practicality. This design is especially appealing because it uses a simple construction method while still creating a polished and professional result. The bow is securely attached and perfectly centered, giving the finished piece a boutique-style appearance.
Another advantage of this pattern is its versatility. Once you understand the construction method, you can easily adapt the sizing for older babies, toddlers, or even adults. You can also embellish the bow with buttons, flowers, or decorative appliqués for a personalized touch.
The texture created by alternating Single Crochet and Half Double Crochet rows gives the headband extra softness and flexibility. This makes it comfortable for delicate baby skin while helping the headband fit snugly without being too tight.
Materials Needed
Before getting started, gather the following materials:
- I (size 5.5 mm) crochet hook
- Worsted weight yarn
- Caron Simply Soft yarn works beautifully for this project
- Scissors
- Measuring tape
- Tapestry/yarn needle
Crochet Terms Used
This pattern uses standard US crochet terminology.
- SC = Single Crochet
- HDC = Half Double Crochet
0–6 Month Size – Headband Body Directions
Row 1
Chain 51, leaving a long yarn tail of at least 8 inches before making the slip stitch. Join with a slip stitch to the first chain to form a circle. Be careful not to twist the chain.
(50 stitches)
Row 2
Chain 1. Work Single Crochet in every stitch around except the last stitch. Join with a slip stitch to the chain 1.
(50)
Row 3
Chain 1. Work Half Double Crochet into every stitch around except the last stitch. Join with a slip stitch to the chain 1.
(50)
Row 4
Repeat Row 2.
(50)
Row 5
Repeat Row 3.
(50)
Row 6
Repeat Row 2.
(50)
Row 7
Repeat Row 3.
(50)
Row 8
Repeat Row 2.
(50)
Row 9
Repeat Row 3.
(50)
Row 10
Repeat Row 2.
(50)
Row 11
Repeat Row 3.
(50)
Row 12
Repeat Row 2.
(50)
Fasten off and clip the yarn, leaving another long tail at least 8 inches in length.
0–6 Month Size – Bow Directions
Row 1
Chain 31 and join with a slip stitch to the first chain to form a circle. Make sure the chain is not twisted.
(30)
Row 2
Chain 1. Work Single Crochet in every stitch around. Join with a slip stitch to the first SC.
(30)
Row 3
Chain 1. Work Half Double Crochet in every stitch around. Join with a slip stitch to the first HDC.
(30)
Row 4
Repeat Row 2.
(30)
Row 5
Repeat Row 3.
(30)
Row 6
Repeat Row 2.
(30)
Row 7
Repeat Row 3.
(30)
Row 8
Repeat Row 2.
(30)
Row 9
Repeat Row 3.
(30)
Row 10
Repeat Row 2.
(30)
Clip yarn, leaving a long tail of at least 8 inches, and fasten off.
0–6 Month Size – Middle Piece Directions
Row 1
Chain 4.
Row 2
Work HDC into the second chain from the hook and into each remaining chain across.
(3)
Row 3
Chain 1. Work HDC in each stitch across.
(3)
Rows 4–10
Repeat Row 3.
(3)
Fasten off and clip yarn.
Assembly of the Crochet Bow Headband
At this stage, you should have three separate pieces:
- The headband body
- The bow piece
- The middle wrap piece
Step 1 – Shape the Headband
Take the headband body and fold it so the seam is centered. Pinch the middle tightly to create gathered folds.
Using the long yarn tails, wrap the yarn around the pinched center approximately four times. Tie the tails together securely on the top side of the headband.
Set the headband aside temporarily.
Step 2 – Shape the Bow
Take the bow piece and pinch the middle in the same way, making sure the seam is hidden in the folds.
Wrap the long yarn tails around the center about four times and tie them securely into a knot on the back side of the bow.
Step 3 – Attach the Bow
Center the bow over the folded section of the headband.
Take the yarn tails from the headband and bring them upward, tying a knot over the bow. Wrap the yarn down toward the back side and secure it with another knot.
Next, use the yarn tails from the bow and wrap them toward the back of the headband as well. Tie them securely.
You should now have four yarn tails on the back side of the headband.
Using the tapestry needle, weave all yarn ends neatly into the headband and trim away excess yarn.
Step 4 – Add the Middle Piece
Place the middle piece around the center of the bow and pull it snugly into place.
Wrap the ends toward the inside of the headband and sew the two ends together securely using the tapestry needle.
This final piece neatly hides the gathered center and gives the bow its finished shape.
Weave in the remaining yarn tails.
Your crochet bow headband is now complete!
Tips for Customizing Your Headband
One of the joys of crocheting is making each project unique. Here are a few fun ideas to personalize your bow headband:
- Use velvet yarn for an extra luxurious winter version
- Add a small flower or pearl button to the center of the bow
- Create holiday-themed colors for Christmas, Valentine’s Day, or Easter
- Use variegated yarn for a playful multi-color effect
- Make matching booties or mittens for a complete baby set
You can also adjust the width of the headband by adding or removing rows. For a larger size, simply increase the starting chain and continue the same stitch pattern.
Handmade baby accessories always carry a special charm, and this Crochet Bow Headband Baby Pattern is no exception. It’s quick enough to make in an evening yet beautiful enough to become a treasured keepsake. The soft texture, classic bow design, and comfortable fit make it ideal for everyday wear, special photos, or thoughtful gifting.
Whether you are making one for your own baby, preparing for a baby shower, or stocking your handmade craft booth, this pattern is sure to become a favorite in your crochet collection. Once you make one, you may find yourself creating them in every color imaginable.
Enjoy crocheting this adorable baby bow headband and adding a little extra handmade warmth to the season!