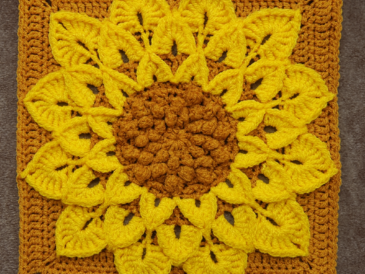
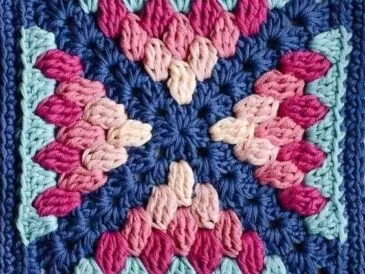
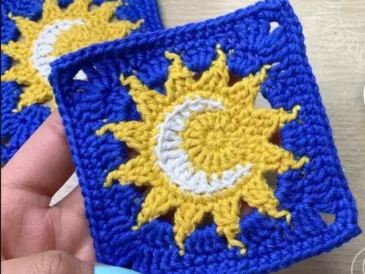
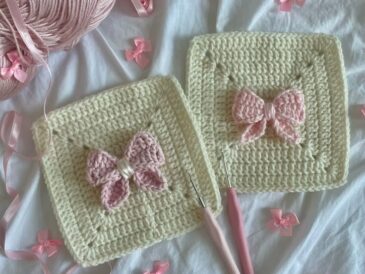
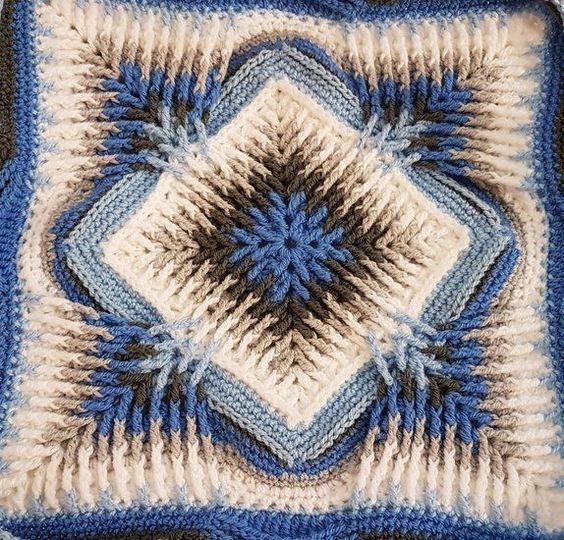
The Elements CAL (Crochet Along) is a beautifully textured square designed by Sandra from Hooks and Yarn. This tutorial will guide you step-by-step through Part 1 and Part 2, helping you create the intricate raised stitches and layered corners that make this square so special.
Whether you are working with a single color or experimenting with multiple shades, this project is a great way to practice textured stitches such as front post trebles, layered corners, and granny specials.
Materials Yarn: Scheepjes Stone Washed (or yarn of choice, DK weight recommended) Hook: 4mm crochet hook Scissors and yarn needle for finishing Stitch markers (optional, for keeping track of corners)
Abbreviations (US Terms)
-
ch = chain
-
st(s) = stitch(es)
-
sl st = slip stitch
-
sc = single crochet
-
hdc = half double crochet
-
dc = double crochet
-
tr = treble crochet
-
fpdc = front post double crochet
-
fptr = front post treble crochet
-
rep = repeat
Part 1 – Foundation & First Layers (Rounds 1–12)
Round 1 – Make a slip knot. Ch 5, join with sl st to form a ring.
Round 2 – Ch 3 (counts as dc), 1 dc in ring, ch 2, 2 dc in ring rep 3 more times. Join with sl st. (4 corners formed)
Round 3 – Move with sl st to next corner space. In corner: (dc, tr one row below into ring, dc, ch 2, dc, tr one row below into ring, dc). Rep in each corner. Join with sl st.
Round 4 – Work corners as in Round 3, but trebles go into the corner space of the previous round (one row down). Along straight edges, work groups of (dc, tr in row below, dc). Join.
Round 5–6 – Continue forming corners with (dc, tr below, dc, ch 2, dc, tr below, dc) and on straight edges, alternate dc with front post trebles from previous rounds.
Rounds 7–10 – Repeat the established pattern. Each new round increases the number of granny special groups between corners by one. Change colors as desired.
Round 11 – Work a full round of front post single crochets around all stitches, with 2 sc in each corner. This creates a raised edge.
Round 12 – Work into the back loops of Round 10 (behind the raised stitches). Make 27 sc across each side, and in corners work (sc, ch 2, sc). Join.
Part 1 complete! Your square now has a rich textured base with raised ridges.
Part 2 – Expanding the Square (Rounds 13–23)
Round 13 – Work 13 sc along edge, skip 1 st, then in center above previous treble make (dc, tr around tr below, dc). Ch 2, then (dc, tr around same tr below, dc). Continue with 13 sc. Corners: (sc, ch 2, sc).
Round 14 – Work sc across edges, skipping 2 sts before each granny special. In corners, continue with layered (dc, tr below, dc, ch 2, dc, tr below, dc).
Round 15 – Begin with back post single crochets. Skip stitches as instructed, inserting front post trebles around stitches two rows below. Corners remain the same textured granny corner.
Rounds 16–17 – Build layers with more granny specials along edges, inserting trebles around previous rounds. Work chain spaces across center areas to keep edges even.
Rounds 18–20 – Continue expanding: corners remain textured, edges receive 3–5 granny special groups each. Central stitches include sc, hdc, and slip stitches to smooth and straighten the edges.
Round 21 – Corners as usual. Along sides, 5 granny specials are worked. Between them, sc groups and sc2tog/3tog decrease stitches help straighten the square.
Round 22 – Similar structure, but includes two sc in the center stitch to keep edges square.
Round 23 (final of Part 2) – In corners: 3 hdc. On edges: a mix of sc, front post double crochets around trebles, and sc groups. Finish with an invisible join for a neat look.
Block your work after Part 2 to straighten edges and open up the textured design.
Tips
-
Keep your stitches loose when working trebles several rows below – this prevents curling.
-
Always check stitch counts at the end of each side.
-
Blocking is essential for this CAL: it transforms the wobbly fabric into a perfectly flat, crisp square.
✅ With Part 1 and Part 2 complete, you now have a richly textured square ready to be joined into a larger blanket, cushion, or displayed as a stand-alone piece.

