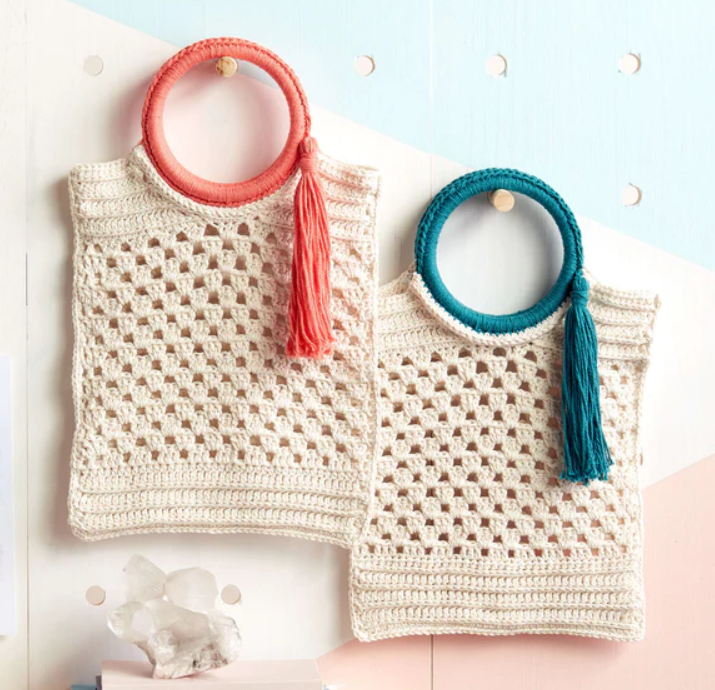
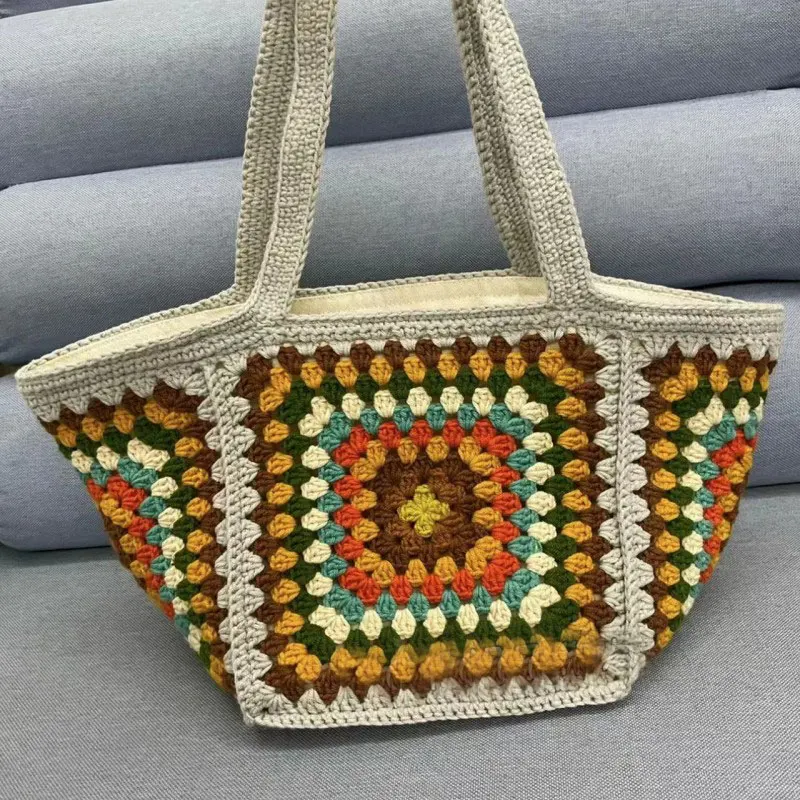
There’s something truly timeless about a granny square. These colorful motifs are bursting with personality and perfect for everything from cozy blankets to fashion-forward accessories. If you’ve ever wanted to turn your squares into something wearable and practical, a crochet granny square bag is the perfect project.
Whether you’re a beginner or a seasoned crocheter looking for a stash-busting idea, this guide will walk you through every step from crafting the squares to assembling, lining, and adding handles. Let’s dive into creating your very own crochet bag masterpiece!
Materials
Before you start, make sure you’ve got everything ready:
Yarn:
-
Fiber: 100% Cotton or Cotton Blend for structure; Acrylic for softer drape.
-
Weight: Worsted (Aran / Category 4) for sturdiness. DK (Category 3) for a lighter version.
-
Colors: Choose a main color for joining and the handle, plus various shades for the granny squares—great for using scraps!
-
Amount: Approx. 200–400g total, depending on the bag size.
Tools:
-
Crochet Hook: 4.0mm (G/6) or 5.0mm (H/8), based on yarn weight.
-
Scissors
-
Yarn Needle (Tapestry Needle)
-
Stitch Markers (optional)
-
Measuring Tape
Optional Extras:
-
Fabric for lining (cotton canvas or linen)
-
Sewing machine or needle and thread
-
Pins
-
Wooden/Bamboo handles or D-rings
🔁 Basic Crochet Stitches You’ll Use
To crochet your bag, you’ll need to be familiar with:
-
ch – Chain
-
sl st – Slip Stitch
-
dc – Double Crochet
-
MR – Magic Ring (optional but preferred)
These simple stitches combine to form the beautiful granny squares you’ll use to build your bag.
🧩 Step 1: Crocheting Your Granny Squares
Start by making multiple granny squares. For a medium-sized tote, aim for 13 squares (9 for the body, 4 for the bottom).
Classic Granny Square Pattern (US Terms)
Round 1:
Start with MR (or ch 4, sl st to form ring).
Ch 3 (counts as dc), 2 dc into ring, ch 2, 3 dc repeat from * 2 more times, ch 2, join with sl st to top of ch 3.
Round 2:
Sl st into ch-2 space. Ch 3, (2 dc, ch 2, 3 dc) in same space. Ch 1, (3 dc, ch 2, 3 dc) in next ch-2 corner, repeat 2 more times, ch 1, join with sl st.
Round 3:
Sl st to ch-2 corner, ch 3, (2 dc, ch 2, 3 dc) in corner. Ch 1, 3 dc in ch-1 space, ch 1, (3 dc, ch 2, 3 dc) in next corner repeat 2 more times. Finish round, fasten off.
Additional Rounds (Optional):
Repeat pattern, adding 3 dc in each side space and (3 dc, ch 2, 3 dc) in corners.
📝 Tip: Leave a long tail (6–8 inches) for joining.
🧱 Step 2: Planning Your Bag Layout
Lay out your squares to visualize the final bag. Here’s a common layout for a tote:
Main Body: 3 × 3 grid (9 squares)
Bottom: 2 × 2 grid (4 squares)
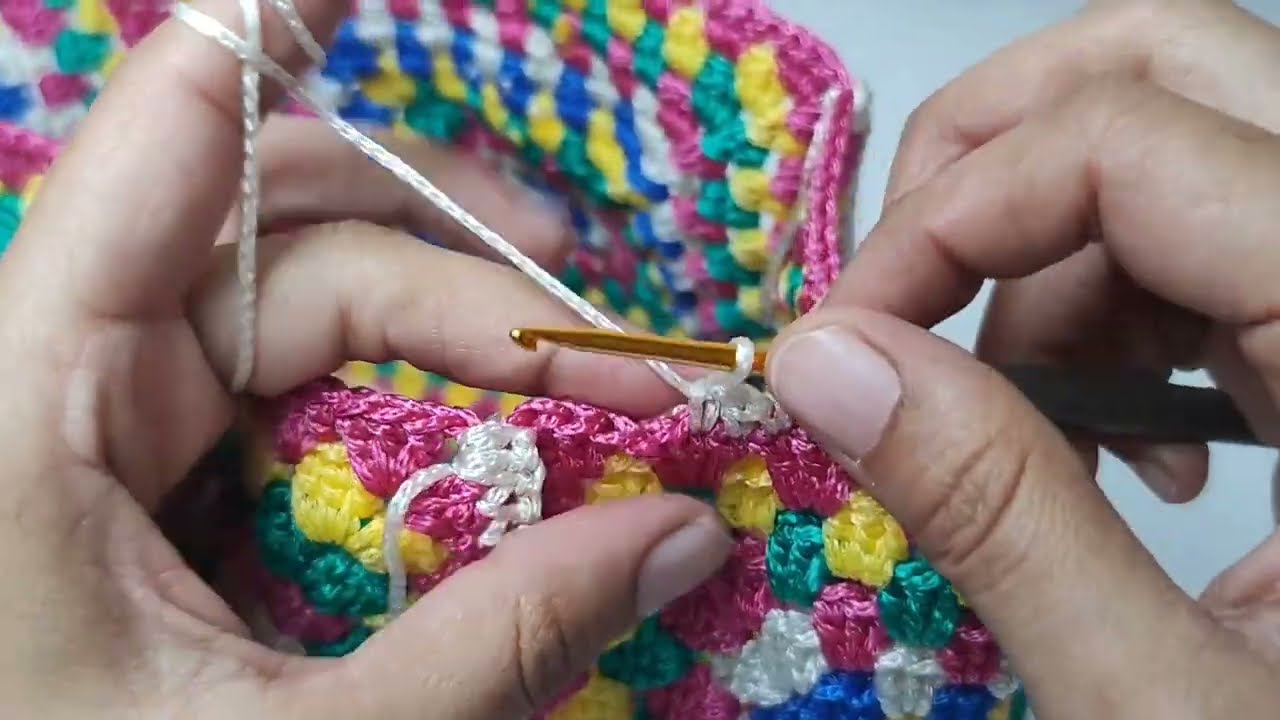
🔗 Step 3: Joining Your Granny Squares
Before joining: Weave in all loose ends—this saves frustration later!
Joining Options:
-
Whip Stitch (Needle): Clean and almost invisible.
-
Slip Stitch (Hook): Leaves a slight ridge—adds texture.
-
Single Crochet Join: Strong and decorative.
-
Join-As-You-Go (JAYG): Seamless but requires planning.
Assembly:
-
Join 9 squares into a 3×3 grid.
-
Join 4 bottom squares into a 2×2 grid.
-
Fold the main piece into a tube, with the center row as the front/back and sides folding in.
-
Attach the 2×2 base to the bottom by joining all edges.
🧵 Step 4: Finishing the Top Edge
-
Join yarn to top edge.
-
Round 1: Ch 1, sc around entire top edge. Place extra sc at seams for reinforcement. Sl st to join.
-
Round 2-3 (Optional): Repeat sc rounds or use hdc/dc for thicker border.
🎒 Step 5: Adding the Bag Handle
Option A: Crocheted Handles
-
Ch 80 (or desired length + a few extra).
-
Sc in each ch across.
-
Work 3–5 rows of sc to create a thick strap.
-
Fold (optional), sew along long edge.
-
Attach handles securely to inside top edge.
Option B: Store-Bought Handles
-
Attach wooden or bamboo handles using loops or D-rings.
-
Crochet loops or sew on with matching thread/yarn.
🧵 Step 6: Optional Lining
Adding a lining increases strength and gives your bag a polished look.
-
Measure your finished bag.
-
Cut fabric with ½” seam allowance.
-
Sew a fabric bag that matches your crochet bag shape.
-
Insert and stitch it just below the crocheted top edge using whip or running stitch.
🧼 Step 7: Finishing Touches
-
Weave in ends: Check every edge and seam.
-
Blocking (Optional): Gently shape and steam or wet block your bag flat. Stuff with towels to dry for a nice finish.
Video Tutorial:
Your handmade Granny Square Crochet Bag is now complete stylish, sustainable, and totally unique. Use it for shopping, as a statement accessory, or even as a gift bag. The best part? You can customize it endlessly with colors, square sizes, and finishing details.